Section 2: Querying Nodes
Every graph query starts with a node. This section covers the foundation: how to find nodes, how to filter them, and how to get actual data back in the JSON output.
The simplest possible query
Open the Query Editor and type:
node()Click Execute.
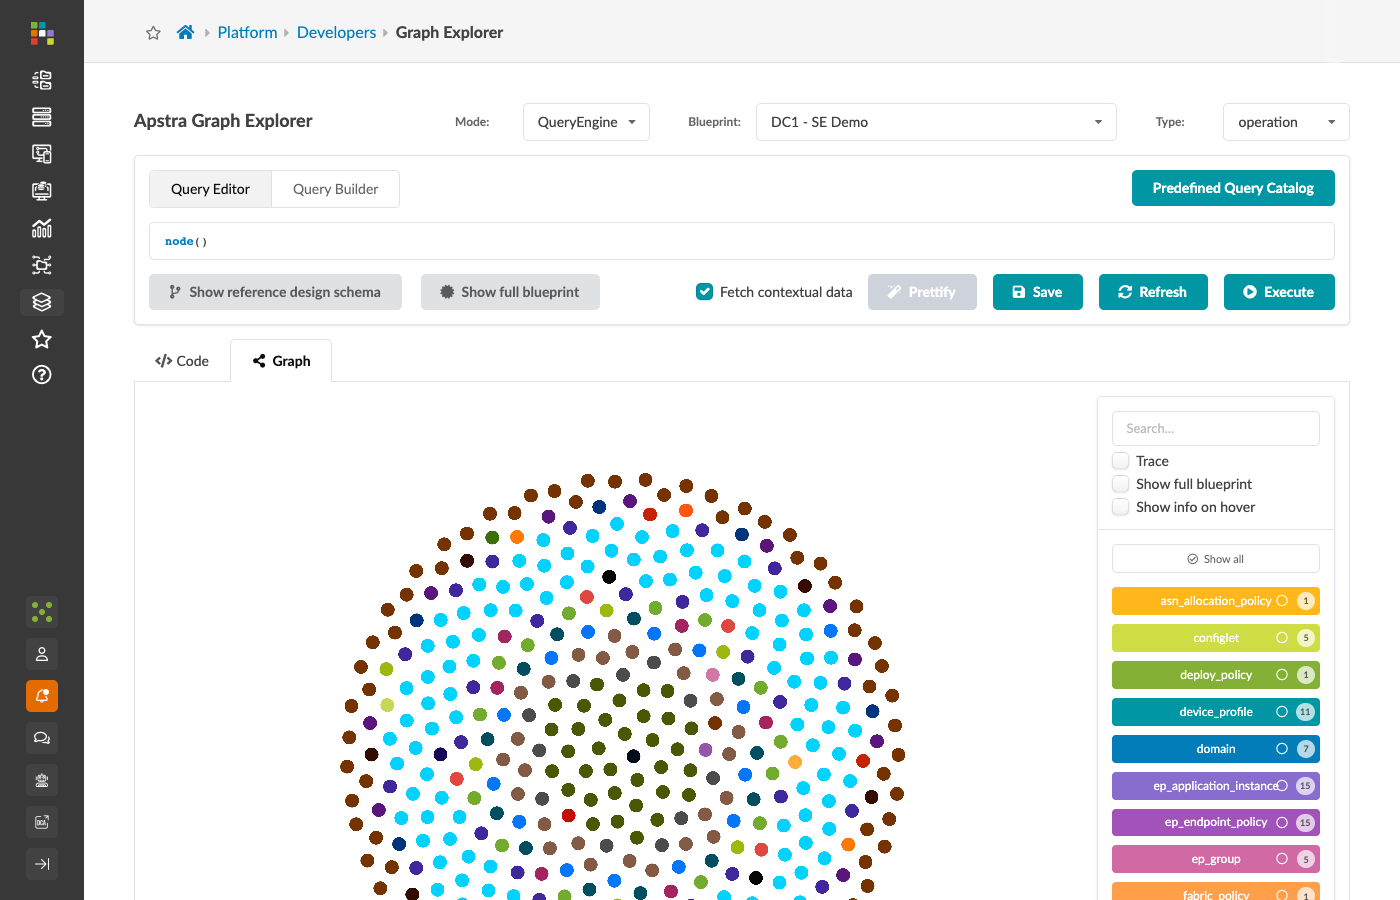
You will see every node in the blueprint rendered on the canvas. The DC1 - SE Demo blueprint used in this lab contains 408 nodes across all types.
node() is a description of a single node with no qualifications.
Because it places no restrictions on type, properties, or relationships, it matches everything.
Think of it as: "show me every thing in this graph that is a node" — which is, by definition, everything.
This is not particularly useful on its own, but it is the structural foundation of every query you will write.
More specific queries are simply node() with filters added inside the parentheses.
The name= output label
|
This is the single most important concept in the whole guide.
Every query you write for automation or reporting needs |
The problem: empty JSON
Switch to the Code tab below the canvas.
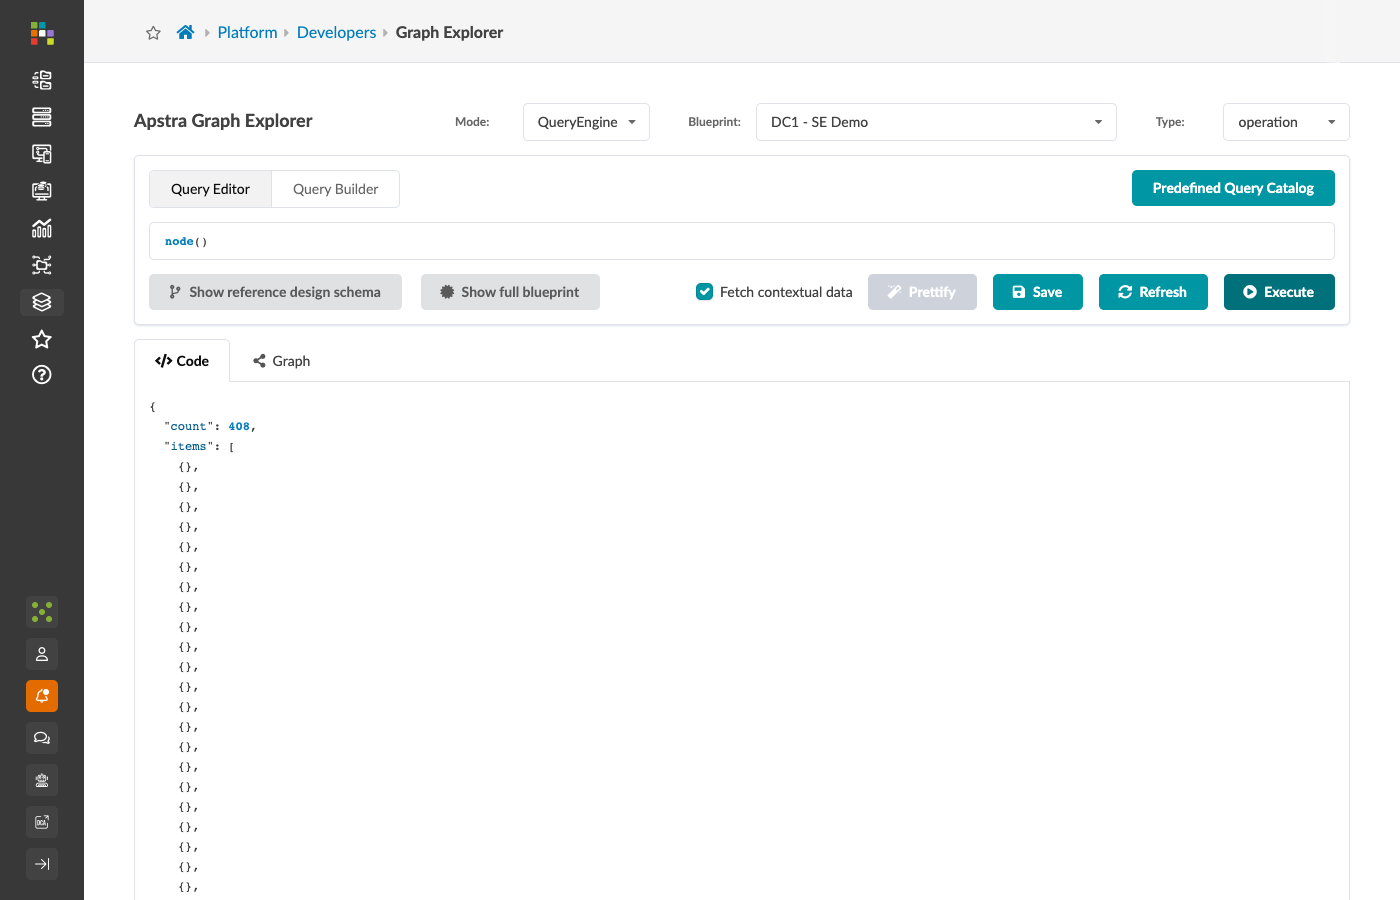
What you see is:
{
  "count": 408,
  "items": [ {}, {}, {}, {} ... ]
}
408 matches. 408 empty dictionaries.
This is not a bug.
The query engine returns data only for nodes you explicitly label using name=.
node() matches every node but labels none of them, so the result is a correct count with no content.
The fix: add name=
Add a name= argument to the node:
node(name='node')Click Execute and switch to the Code tab.
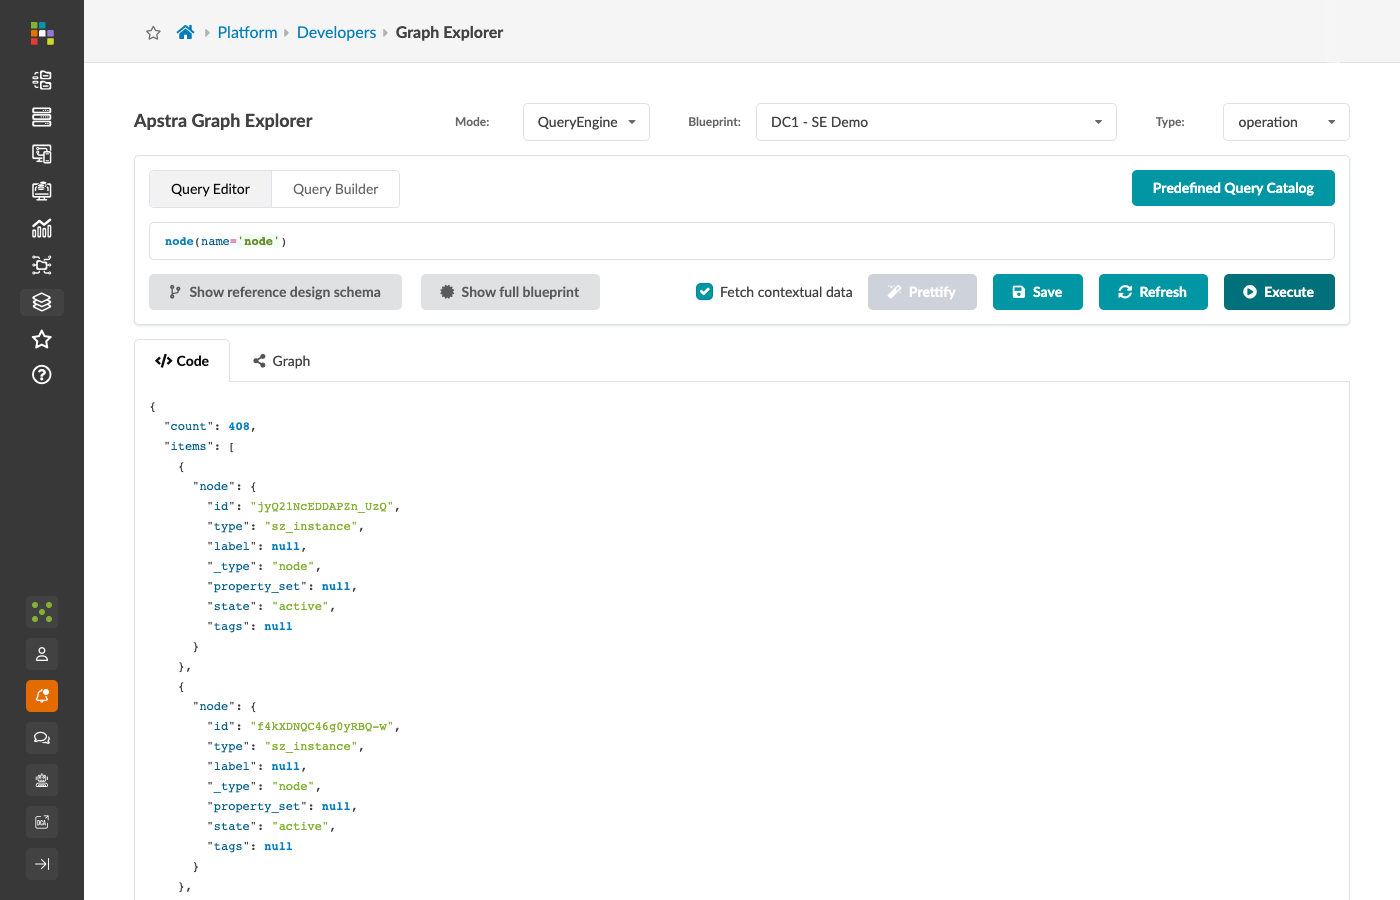
Now each item in the array is a dictionary with a "node" key containing the full node record:
{
  "count": 408,
  "items": [
    {
      "node": {
        "id": "abc123",
        "type": "system",
        "label": "Spine1",
        ...
      }
    },
    ...
  ]
}
What name= does
-
name=does not change which nodes are matched — it only controls which nodes appear in the JSON output. -
The value you give (here
'node') becomes the key in each result dictionary. -
Use descriptive names:
name='system',name='rack',name='iface'— your code will be easier to read. -
You only need to name nodes whose data you intend to use. Unnamed nodes still participate in traversal filtering but produce no output.
|
You will see |
name= in traversals
When a traversal visits multiple nodes, name each one you need data from:
node(type='system', role='leaf', name='system')
  .out('hosted_interfaces')
  .node(type='interface', name='iface')
Each result item will contain both "system" and "iface" keys.
Section 5 covers multi-name traversals and how to compare values across named nodes.
Filtering by type
The most important filter is type.
It narrows results to a single node type:
node(type='system')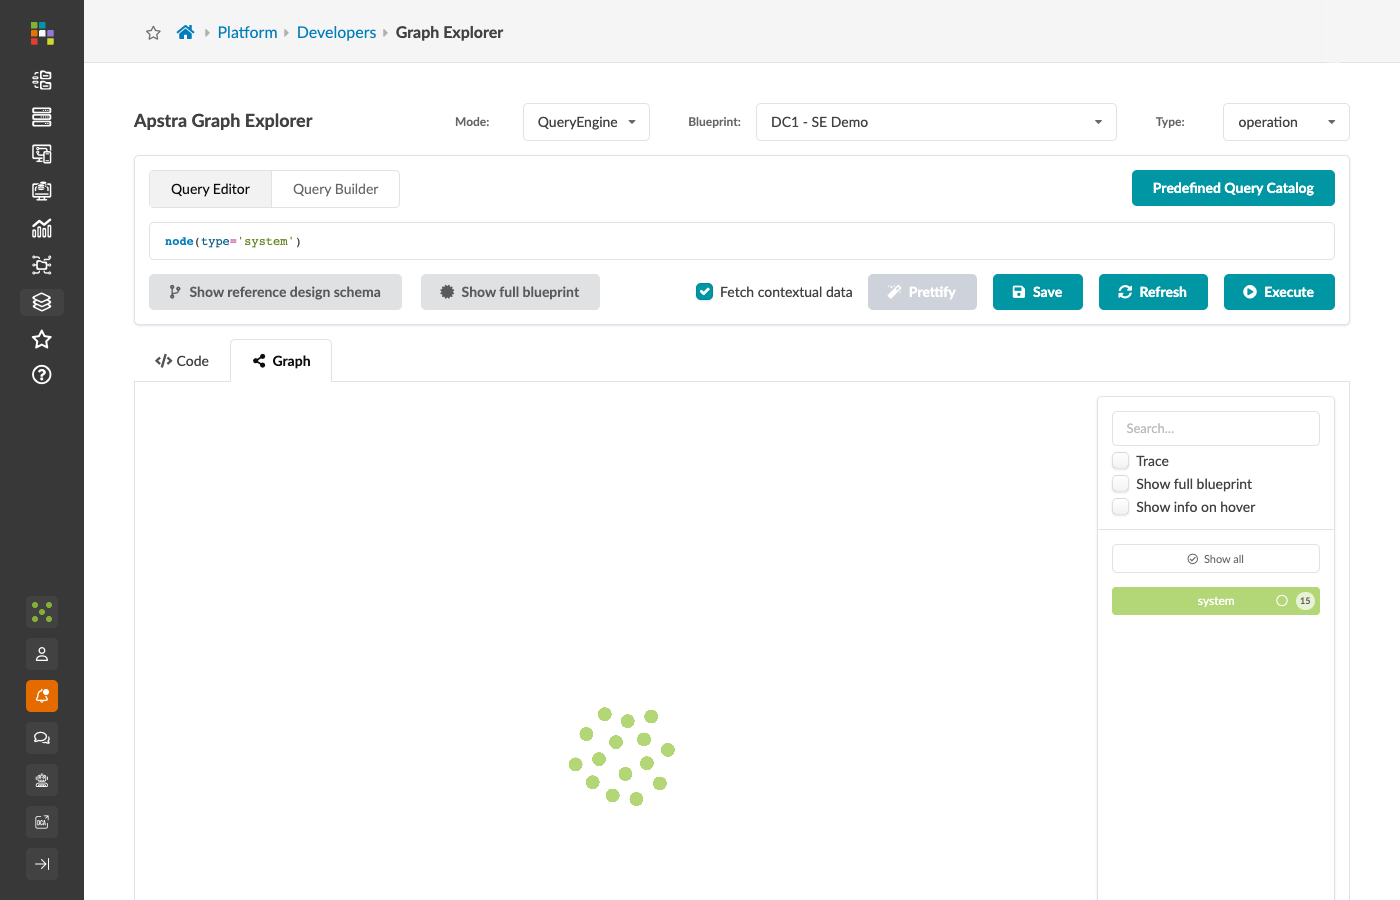
The canvas now shows only system nodes — 15 in the DC1 - SE Demo blueprint.
Every network switch and every generic server is a system node.
| Property | Example value | What it means |
|---|---|---|
|
|
Human-readable hostname shown on the canvas |
|
|
Device hostname (usually matches label) |
|
|
Fabric role — the most important filter for system queries |
|
|
Whether this device is actively managed |
|
|
Hardware category |
|
|
MAC address of the management interface |
|
|
True for systems outside the fabric (e.g., external routers) |
|
The |
The shorthand form
A bare string as the first argument to node() is treated as type=.
These two queries are identical:
node(type='system')
node('system')
You will see the shorthand form throughout the Predefined Query Catalog and in Apstra documentation.
This guide uses type= explicitly throughout, because it makes the intent unambiguous.
Once you are comfortable with the syntax, use whichever form you prefer.
Filtering by other properties
Any property shown in a node’s detail panel can be used as a filter. The property name must be typed exactly as it appears — including underscores.
Filter by role
node(type='system', role='spine')Returns only spine systems.
Valid role values in a three-stage reference design are spine, leaf, access, and generic.
node(type='system', role='leaf')Filter by deploy mode
node(type='system', deploy_mode='deploy')Returns only systems in the deployed state.
Systems in undeploy mode are excluded.
This is a useful filter for any query that should only touch live devices — you do not want to target analytics probes at devices that are not yet deployed.
Filter by label
node(type='system', label='leaf001-pod1')Returns the single system whose label exactly matches leaf001-pod1.
The label property is the human-readable name on the node.
For system nodes, this is the device hostname.
|
|
Filter by ID
node(id='VgjJeKdBFLaG5BlcYg')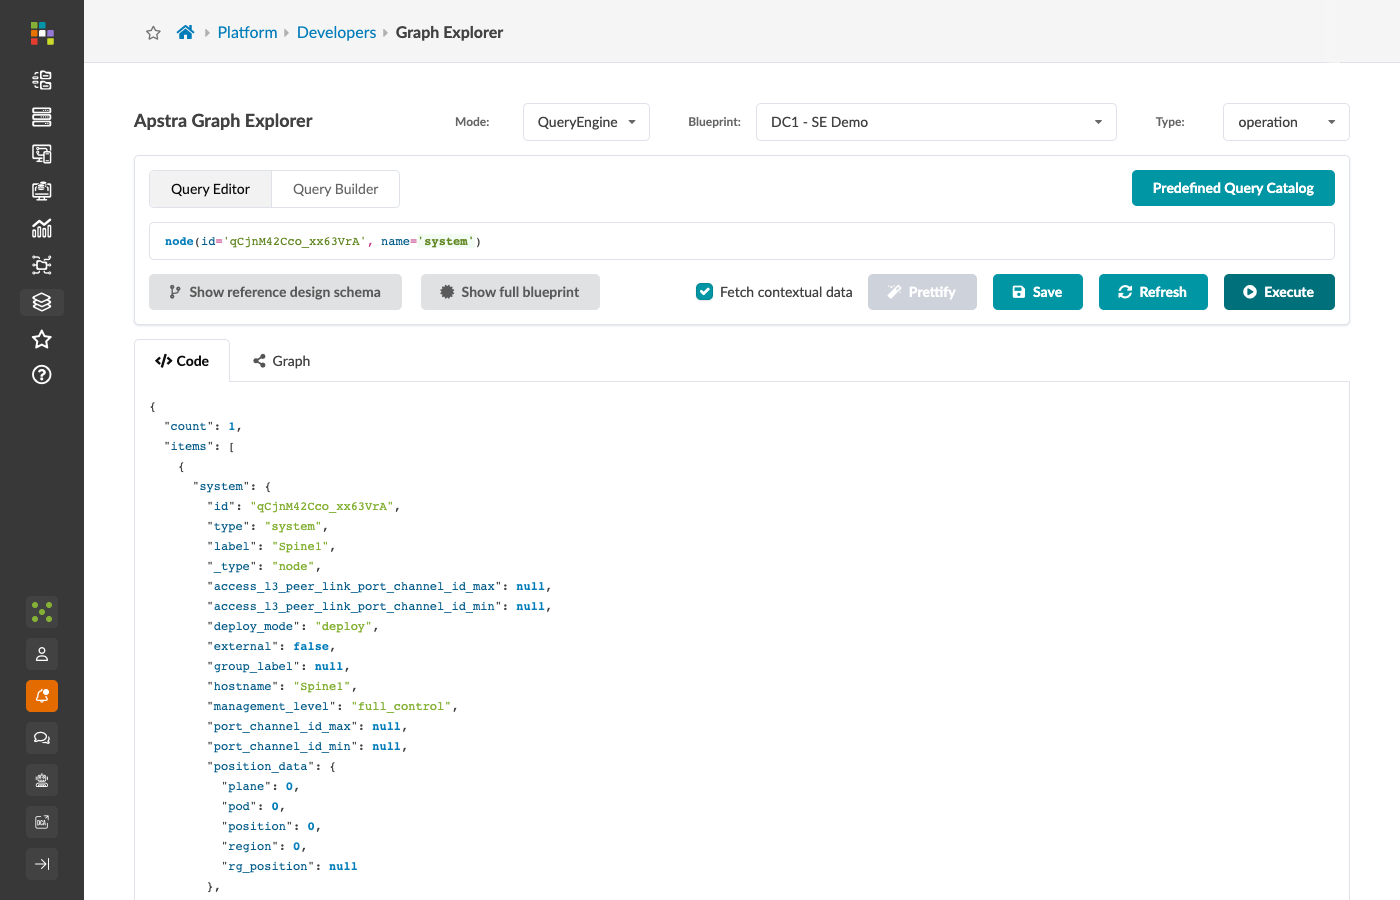
Returns exactly one node. You would use this when you already have an ID from an earlier query or from a detail panel inspection.
In practice, the ID is almost always what you are trying to discover, not something you start with. Hard-coded ID filters like this appear in documentation to demonstrate the syntax — not as a pattern for production queries.
Combining filters
Multiple filters inside node() are combined with an implicit AND.
All conditions must be satisfied:
node(type='system', role='leaf', deploy_mode='deploy')This returns only leaf switches that are currently deployed.
A leaf that exists in the blueprint but has not yet been deployed to deploy mode is excluded.
You can apply as many filters as you need. Each one narrows the result set.
The common node types
The table below lists the node types you will use most frequently in this guide. Confirm each one appears in your blueprint’s type panel on the right-hand side of the Explorer.
| Node type | What it represents | Key filterable properties |
|---|---|---|
|
A device — physical switch or generic server |
|
|
A port on a device |
|
|
A physical or logical connection between two interfaces |
|
|
A rack in the physical design |
|
|
A virtual network instantiated on a specific leaf switch |
|
|
A VXLAN-backed overlay network |
|
|
A VRF / routing zone |
|
|
A routing policy attached to a security zone |
|
|
An ESI or MLAG pair |
|
|
The hardware device profile for a system |
|
|
The mapping between logical and physical interfaces |
|
Checkpoint
Run each of the following queries. In each case, compare the result count on the canvas with the count shown in the node type panel on the right. They should match.
node(type='system', role='leaf')node(type='interface', if_type='logical_vtep')node(type='security_zone')node(type='redundancy_group')Once you are comfortable filtering single nodes, move on to Section 3: Traversals and Direction, where you will start walking between nodes.