Lab2 - Freeform Resource Allocation
Estimated Time: 60 minutes.
| It is recommended that users complete the previous Apstra labs to gain familiarity this solution. Be certain to complete the other Freeform exercises before beginning this Freeform Resource Allocation lab. |
Log into CloudLabs
-
Access the Apstra virtual environment with the CloudLabs portal URL that was emailed to you. For best performance, use the latest version of Google Chrome or Mozilla FireFox web browsers.
-
It can take about twenty minutes for the topology to be provisioned. In the meantime, the status shows as
DEPLOYINPROGRESSand the button for accessing the Apstra UI is not functional. When the status changes to UP, take note of your login credentials and click Open in a New Tab to access the Apstra UI. -
A security warning will appear due to the environment using a self-signed certificate. Click through to proceed to the Apstra UI, bypassing the AUTH warning i.e. click Advanced and then Proceed to <apstra-server-ip> (unsafe).
-
Log into the Apstra UI with login credentials provided earlier (above the Open in a New Tab button).
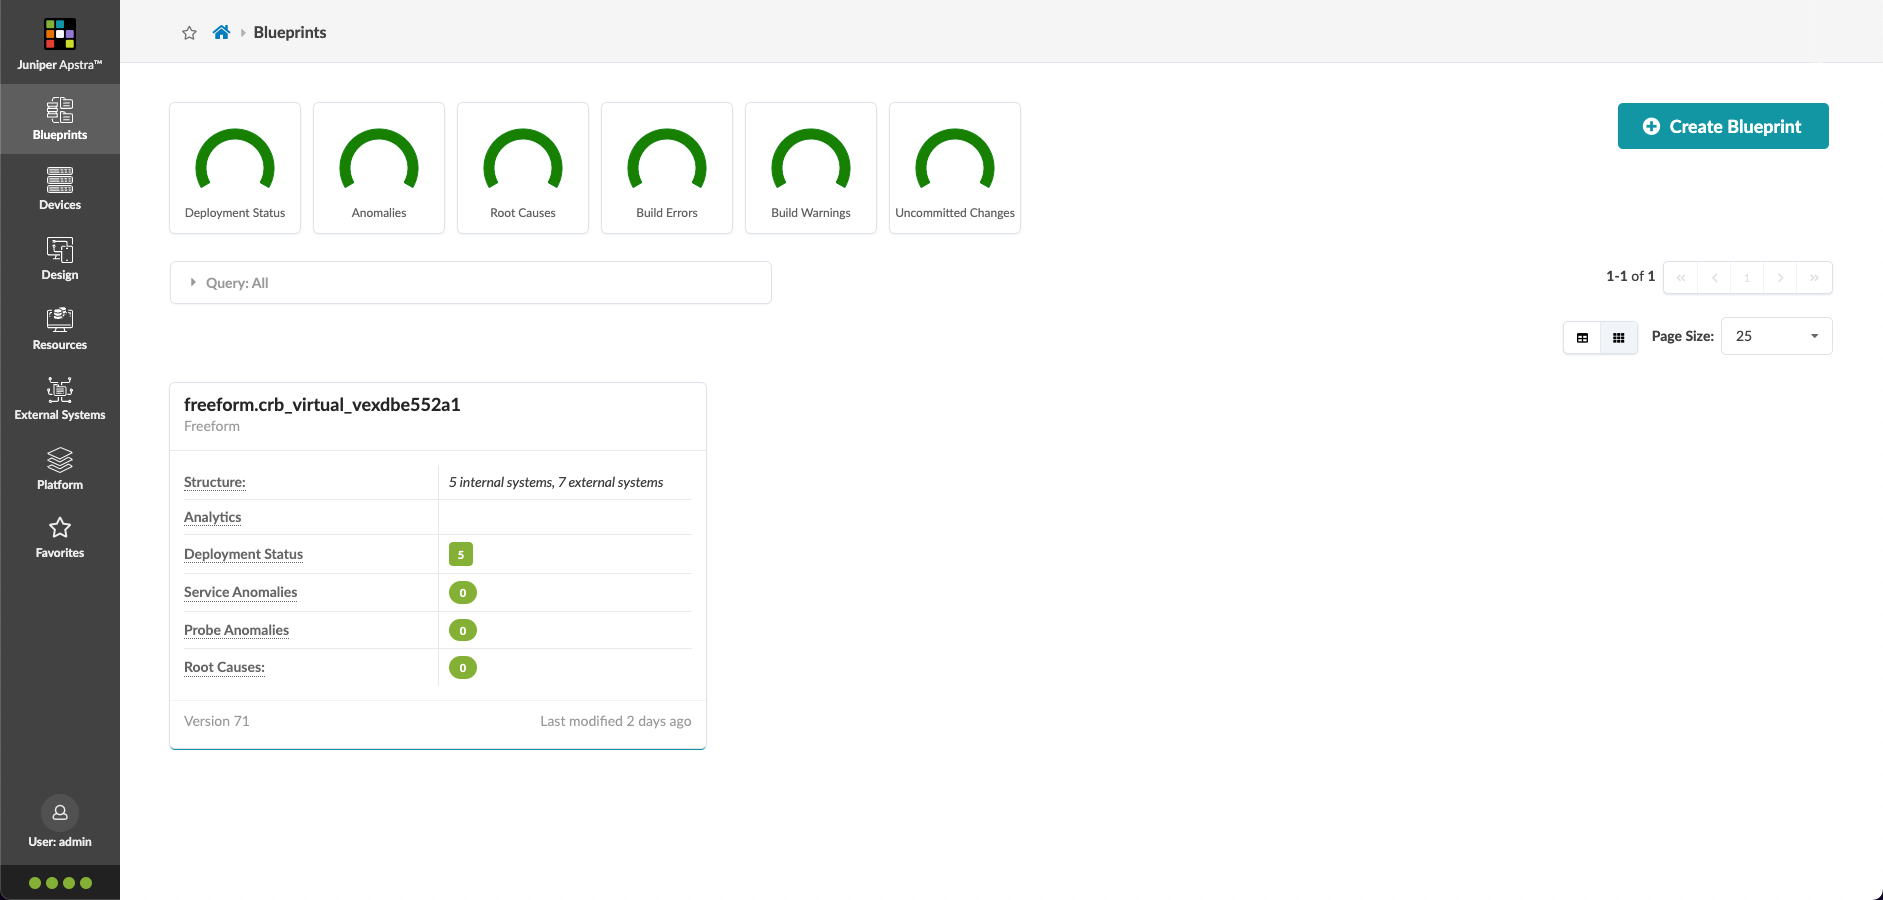
On successful login you will be presented with the Blueprints screen as shown below. The first Blueprint on the left will be the one you will work on during this lab. Select the Blueprint by clicking on its name i.e. Freeform_blueprint-<alpha numeric string>