Lab Guide - Apstra Freeform
Config Templates
Freeform differs significantly from the data center reference architectures in how configurations are built and managed. Freeform does not enforce design constructs, so responsibility for the design belongs to the Network Architect. Apstra provides an Intent-based system capable of dramatically enhancing the efficiency and assurance, in terms of configuration and operations of complex environments. Apstra 4.1.1 introduced a new capability known as Config Templates. This is a flexible and intelligent mechanism to construct, apply and maintain large numbers of device configurations. When working with Config Templates, their complexity can range from very simple and static to containing complex automation depending on what you need to accomplish. Use of Config Templates is intuitive and becomes more powerful as your familiarity improves. Config Templates support the Jinja2 template language which can be used in powerful ways to dynamically automate configuration construction in conjunction with use of Device Context and Property Sets.
Nesting of Config Templates
As Config templates support Jinja templating, a powerful nesting feature can be leveraged to allow you to include a section of a config template from the list inside of another config template. Modularity of Config Templates allows device configurations to be built with a combination of dedicated and shared modules. Efficiency is enhanced because configuration modules are constructed once and then potentially applied across an entire fleet of devices. When the time comes to apply configurations, simple lists of device-specific data provide unique attributes to each configuration section on each device in a Blueprint.
For example, if you have a base system stanza configuration for banners, logins, NTP, etc. and you wish to use these for most of your Juniper devices, instead of copying and pasting the same configuration into each of your device templates, you can create a config template containing the base system config. At that point, it is a simple matter to reference that template within templates for other devices. Another key benefit is you only need to link one config template to each device which then inherits all definitions contained in all linked templates.
To illustrate these concepts, the following config template junos_configuration.jinja is a single config template with several nested config templates referenced. One of these is junos_system.jinja which renders only the system’s hostname.
{# junos_system.jinja handles the system hostname #}
{% include "junos_system.jinja" %}

{# junos_chassis.jinja handles chassis options, such as fpc config for
	 channelized port break-outs on certain device platforms.  This also handles
	 aggregate-devices ethernet device-count for port-channel (aeX) interfaces. #}
{% include "junos_chassis.jinja" %}

{# junos_interfaces.jinja handles front-panel interface configuration, including
	 interface description, ipv4/ipv6 address assignment, and physical link properties
	 derived from device profiles. #}
{% include "junos_interfaces.jinja" %}

{# junos_protocols.jinja initiates LLDP collection on all ports for telemetry
	 purposes #}
{% include "junos_protocols.jinja" %}
Assign Config Templates to devices
Exercise to install simple static config Template on a device.
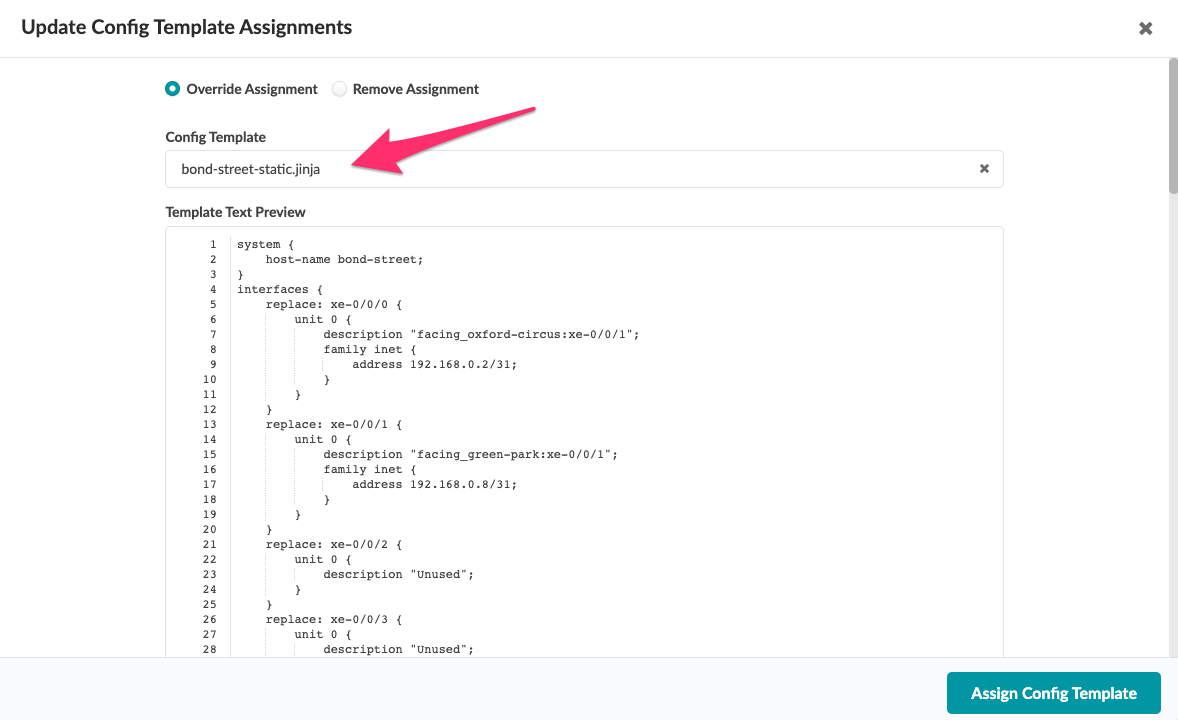
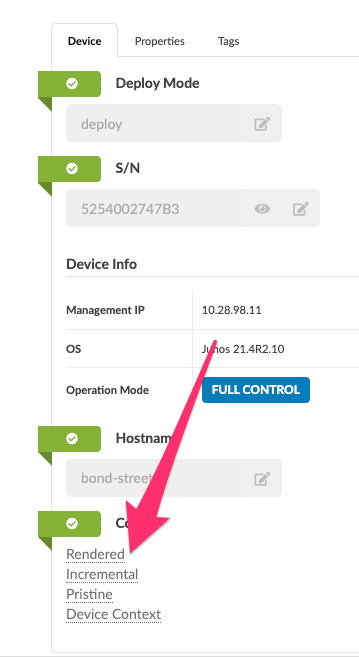
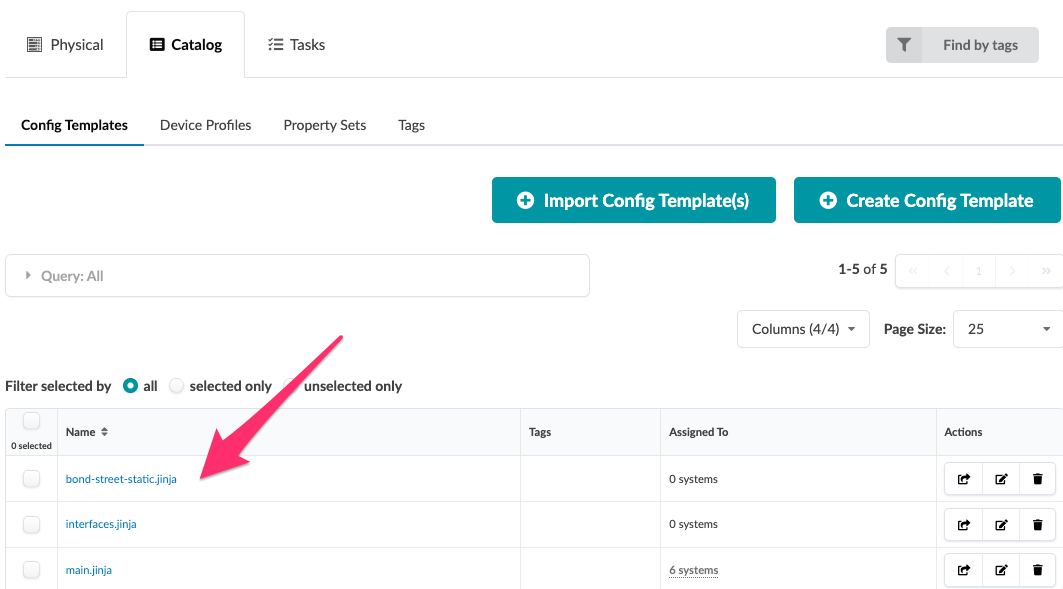
Let’s create a new config template by simply taking an existing configuration presently on a device and paste it. The rendered configuration for Bond-Street station will be the basis of our use case.
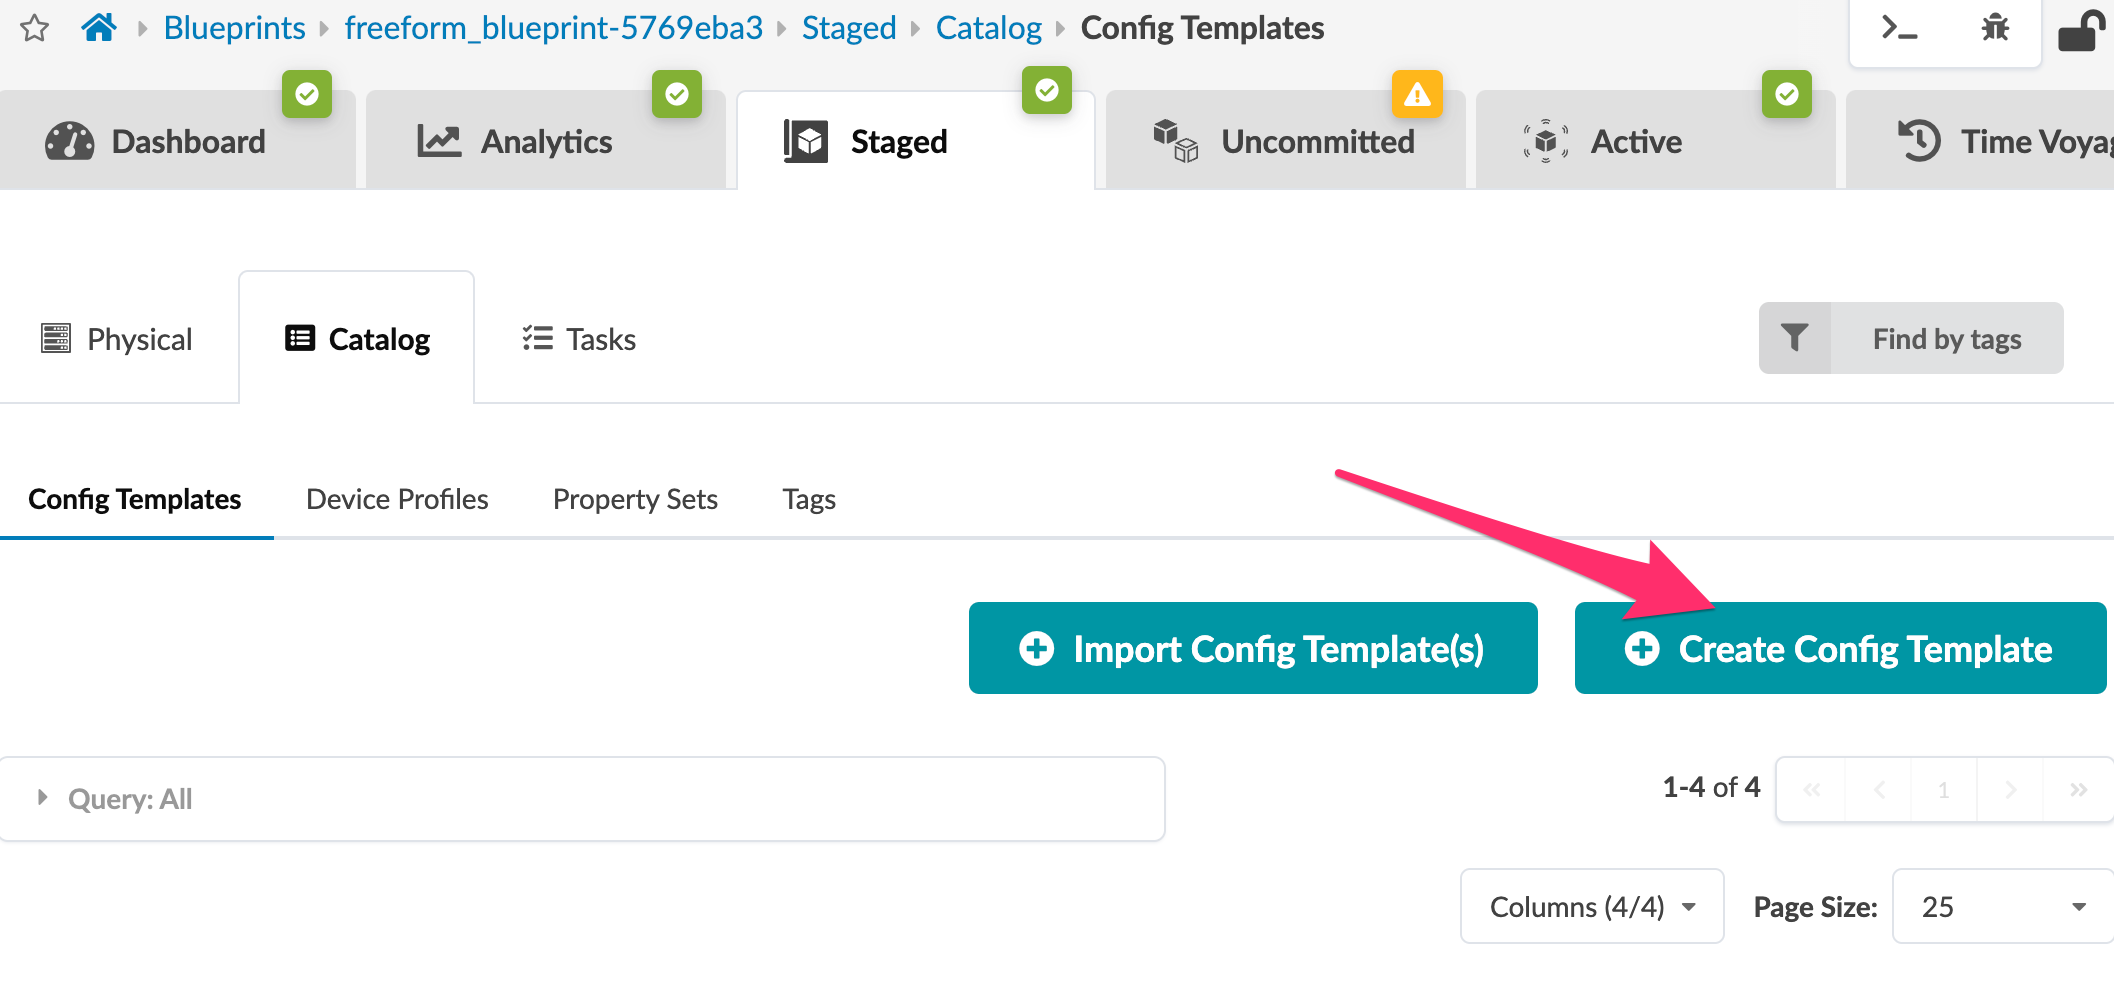
Now, create the new config template to contain the static configuration.
Config templates and nesting
Every internal device in the Topology must have a Config Template assigned to it before you can commit the changes to the design. Usually, you would assign a base Config Template to the device which then calls or includes other Config Templates. This modularity allows you to avoid having to update Config Template mappings every time changes need to be applied.
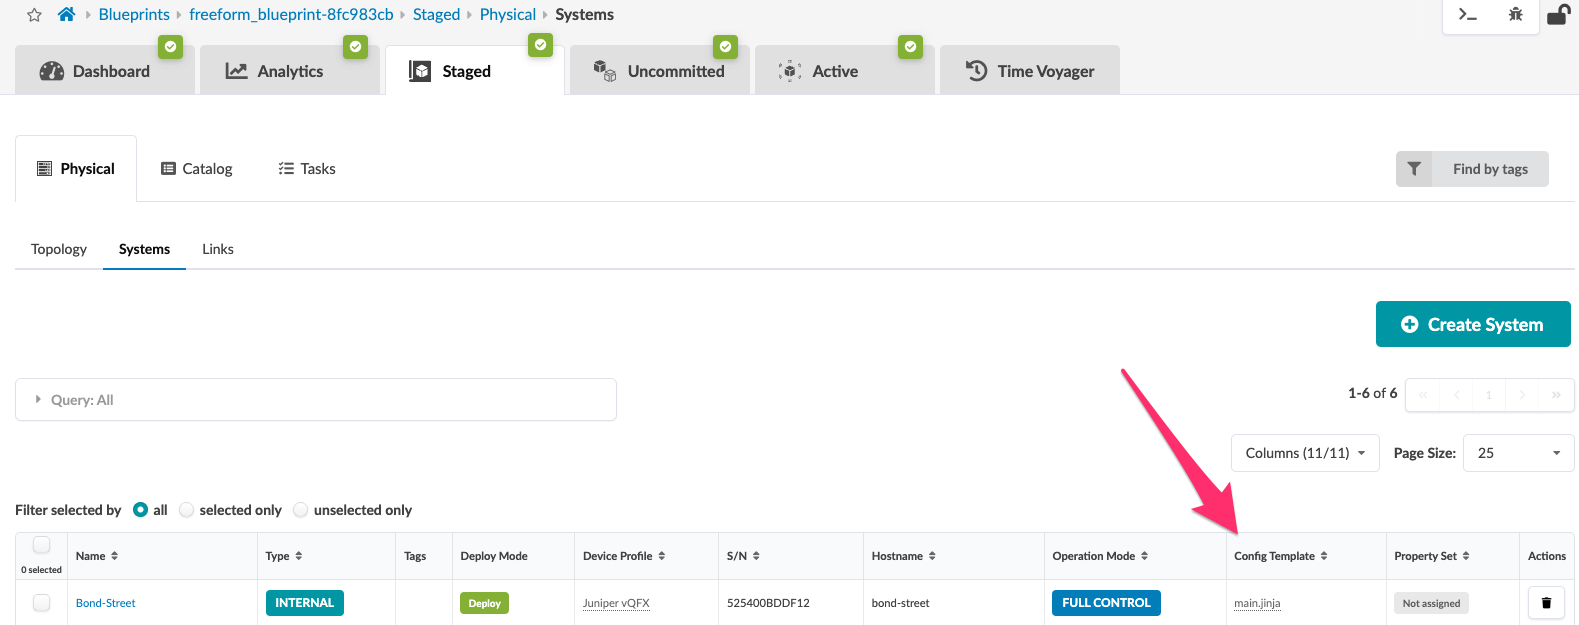
Viewing the currently assigned Config Template is possible in more than one manner. The table located at Staged > Physical > Systems shows various details about the Blueprint’s devices. This includes what templates are assigned to each device.

To assign a Config Template to a device, simply check the box to the left of the device, then you will see an icon appear that looks like </> which is the Config Template assignment icon.