Lab Guide 1 - Juniper
Device Management
Apstra automates the installation and verification of Apstra agents on network devices with its integrated agent installer. This tool can be used in environments without a ZTP server or for one-off agent installs. For our lab, the device agents have been pre-installed for you. You will perform the final step required to put them to place them under Apstra management. Let’s proceed to Acknowledge the devices now.
Bring Devices Under Apstra Management
-
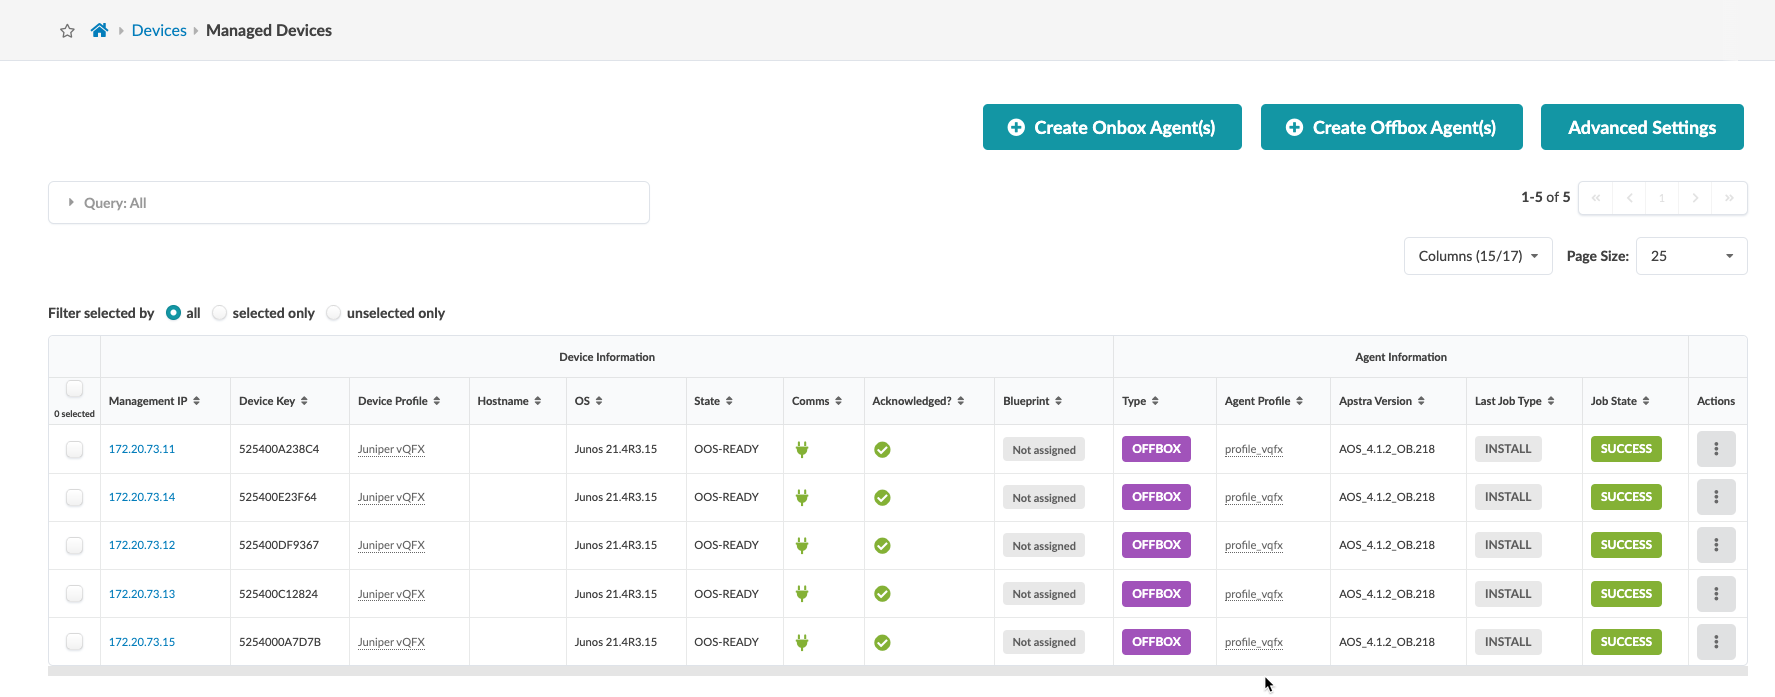
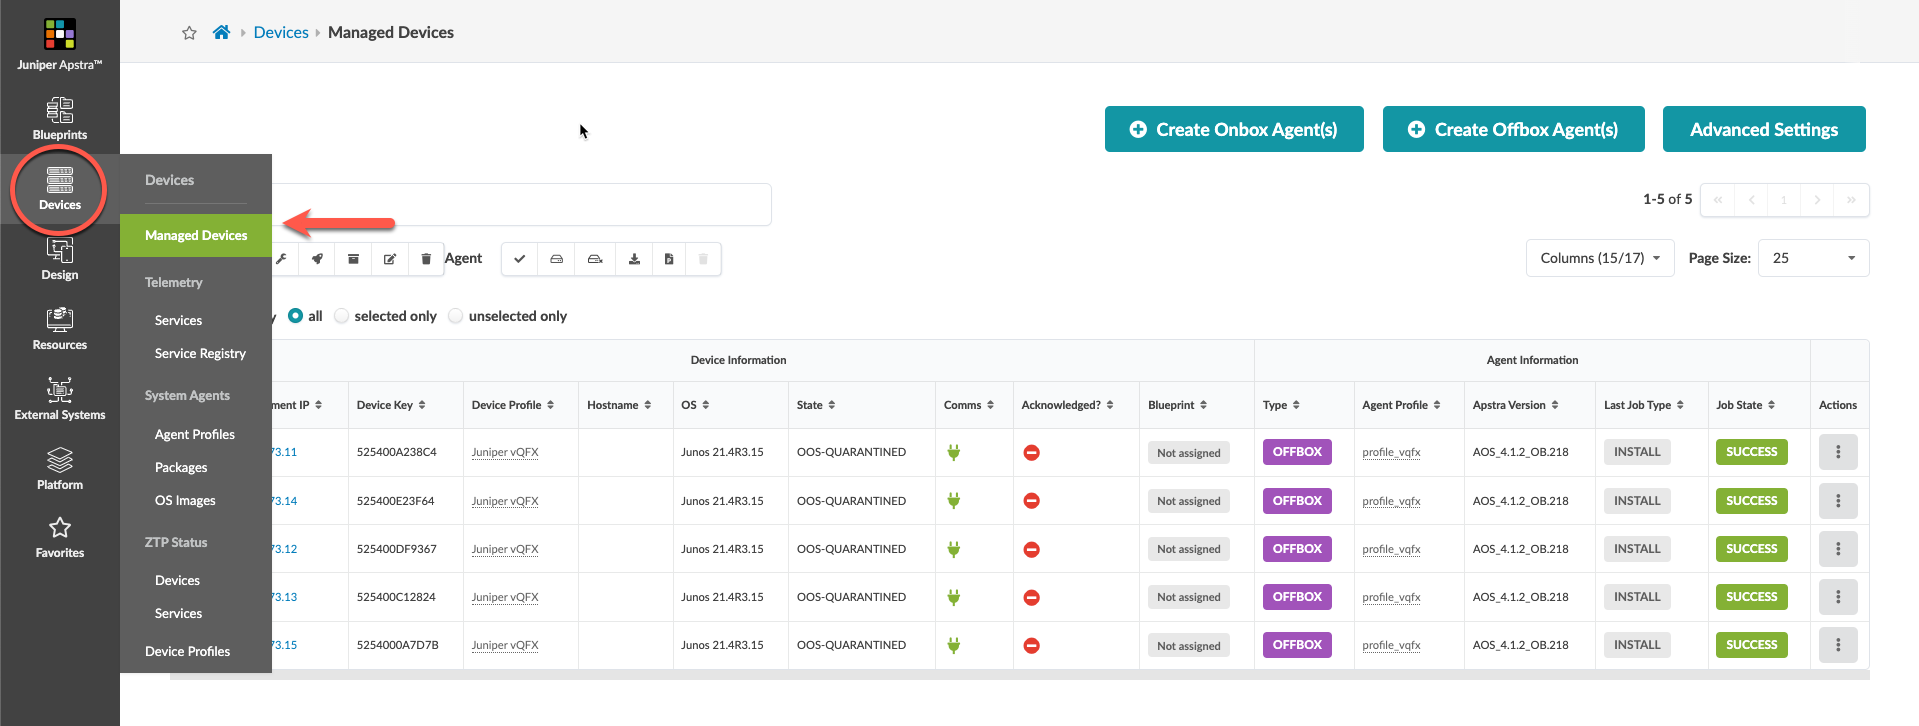
Navigate to Devices > Managed Devices. Devices that are running the native Apstra agent or that are connected to Apstra via a proxy agent are listed here.
-
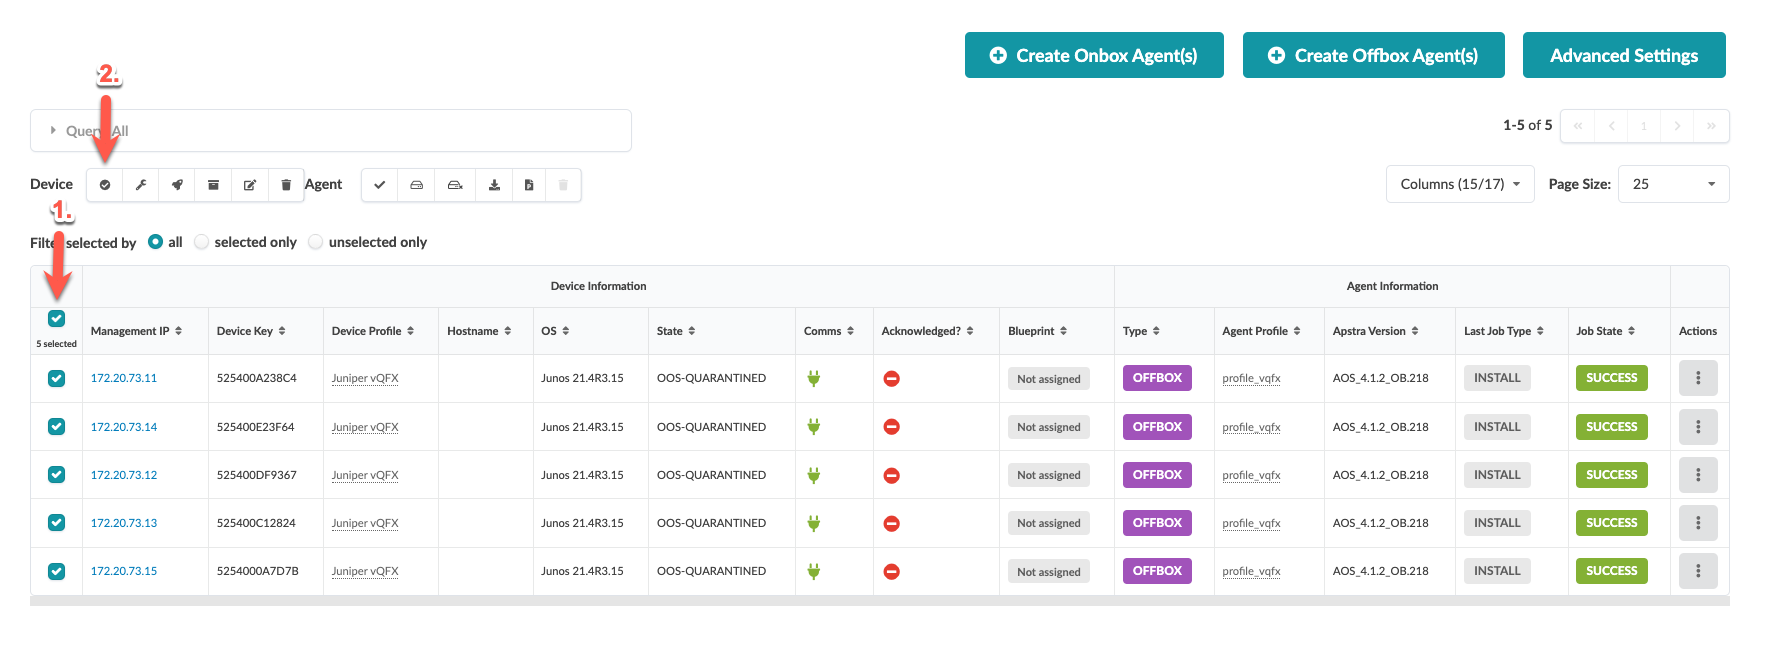
Click the checkbox in the column header to select all five devices. A row of icons appears above the list for tasks that can be performed on the devices.
-
Click the Acknowledge selected systems button (first one on the left), then click Confirm to acknowledge them and return to the list view. The fields in the Acknowledged column change to green check marks indicating that the devices are ready to be managed by Apstra.
-
When all devices are acknowledged, your Managed Devices table should look similar to this. Note that your management IP addresses will be different from those shown.