Lab Guide 1 - Juniper
Racks
Racks are a design construct where the details of how top-of-rack switches connect within the infrastructure are defined. This includes redundancy models and how servers and other devices connect with the fabric. Apstra includes several predefined Rack Types with various characteristics in-place. Feel free to explore different Rack models by navigating to Design>Rack Types in the menu ribbon on the left side of the server UI. Click the name of these Rack Types to see their details. You will define two rack types in these exercises. One is a single switch with a single-homed server. And the other is a redundant pair and has a combination of dual-connected and single-connected servers. Let’s proceed to creating them now.
Create Single-Homed Rack Type
-
Navigate to Design > Rack Types and click Create Rack Type.

-
In the Summary section, enter/select values as shown in the table below.
Table 1. Table Single-Homed Rack Type Summary Values Summary Value Name
apstra-single
Fabric connectivity design
L3 Clos
-
In the Leafs section, enter/select values as shown in the table below. Leave other default values as they are.
Table 2. Table Single-Homed Rack Type Leafs Values Leafs Values Name
apstra-single
Logical Device
virtual-7x10⁻¹
Access Switches are supported with Juniper devices only. -
Click Generic Systems, click Add new generic system group, and enter/select values as shown in the table below. Leave other default values as they are. Notice that as you enter information the topology preview on the right changes accordingly.
Table 3. Table Single-Homed Rack Type Servers Values Servers Values Name
single-server
Generic system count
1
Logical Device
AOS-1x10⁻¹
Logical links
click Add logical link
Name
single-link
Switch
apstra-single
-
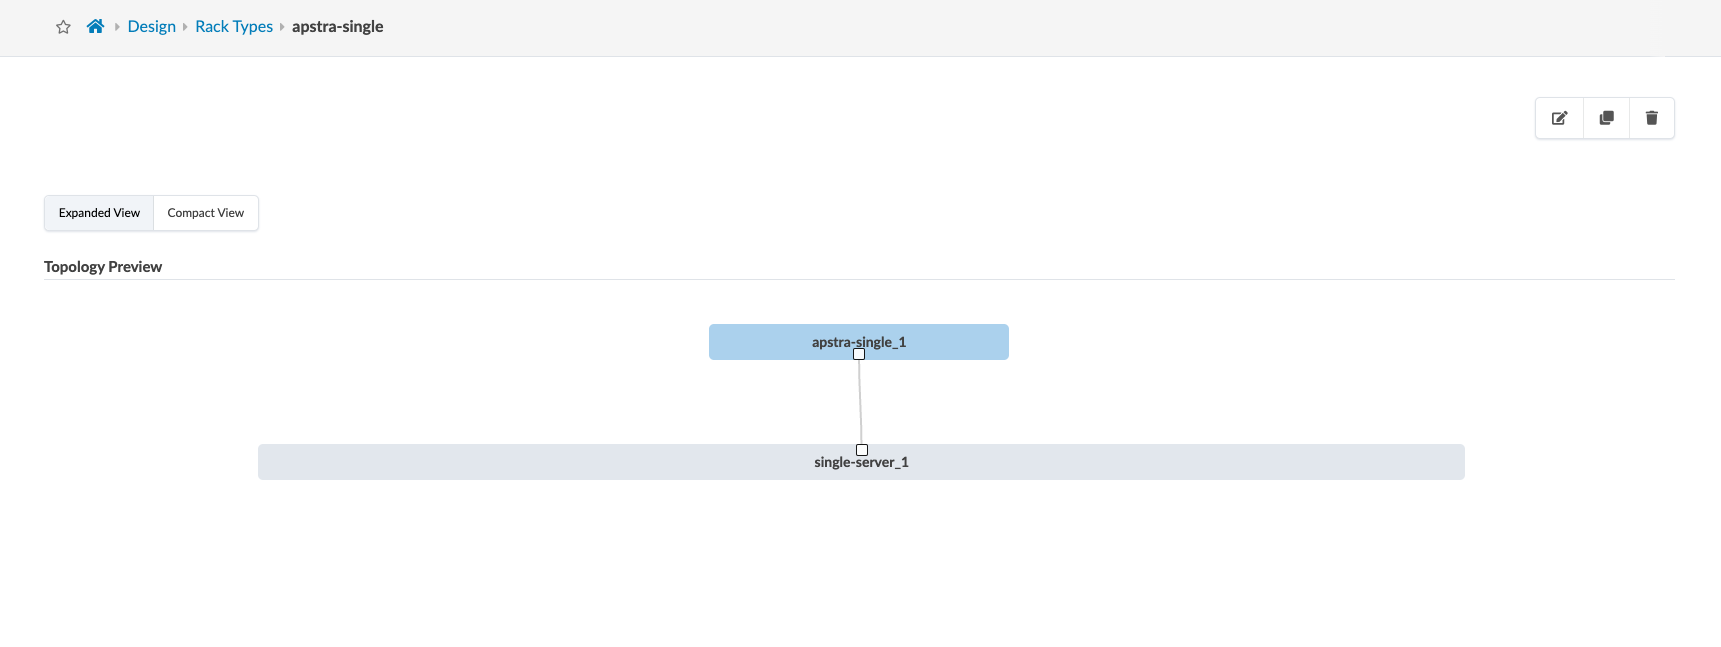
Click Create to create the rack type, add it to the global catalog and return to the list view.
To see rack details, click its name in the list. This is how your completed rack should appear:
Create Dual-Homed Rack Type
-
Click Create Rack Type.
-
In the Summary section, enter/select values as shown in the table below.
Table 4. Table Dual-Homed Rack Type Summary Values Summary Value Name
apstra-esi
Fabric connectivity design
L3 Clos
-
In the Leafs section, enter/select values as shown in the table below. Leave other default values as they are.
Table 5. Table Dual-Homed Rack Type Leafs Values Leafs Value Name
apstra-esi
Leaf Logical Device
virtual-7x10⁻¹
Redundancy Protocol
esi
-
Click Generic Systems, click Add new generic system group, and enter/select values as shown in the table below. Leave other default values as they are. The logical device you’ll choose here is a predefined one that ships with Apstra. These generic systems represent the servers being attached to the rack.
Table 6. Table Dual-Homed Rack Type Servers Values Servers Values Name
dual-server
Generic System Count
1
Logical Device
AOS-2x10⁻¹
First Link
click Add logical link
Name
dual-link
Switch
apstra-esi
Attachment type
Dual-Homed
LAG Mode
LACP (Active)
Second Server
click Add new generic system group
Name
single-server-1
Server Count
1
Logical Device
AOS-1x10⁻¹
Second Link
click Add logical link
Name
single-link
Switch
apstra-esi
Attachment Type
Single-Homed
Peer Switch
First
LAG Mode
No LAG
Third Server
click Add new generic system group
Name
single-server-2
Server Count
1
Logical Device
AOS-1x10⁻¹
Third Link
click Add logical link
Name
single-link
Switch
apstra-esi
Attachment Type
Single-Homed
Peer Leaf
Second
LAG Mode
No LAG
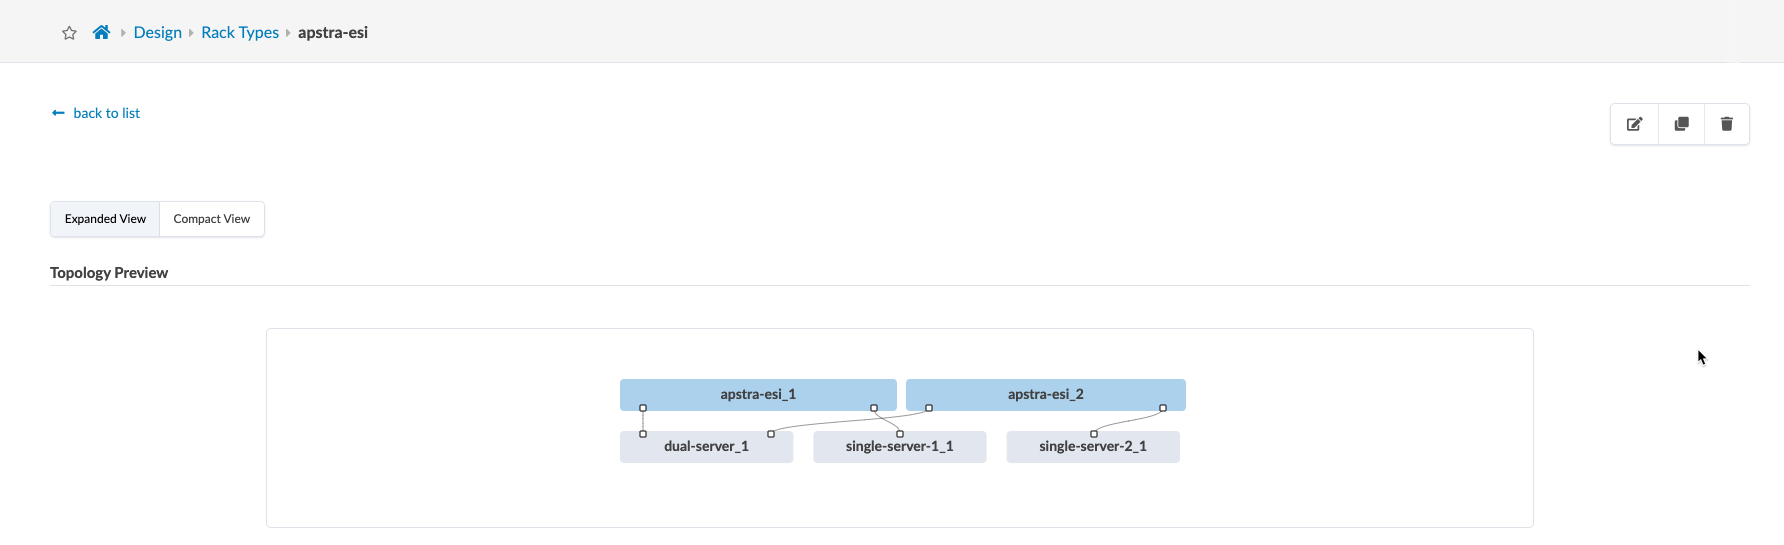
-
Click Create to create the rack type, add it to the global catalog and return to the list view.
To see rack details, click its name in the list. This is how your completed rack should appear: