Part 4 - Customize the Environment
![]()
Create a project directory
-
Begin by creating a directory on your local machine (not in the lab infrastructure) where you’ll keep the Terraform project files, and then change into that directory:
mkdir terraform_lab
cd terraform_lab
The project directory can live anywhere you like, and the files we create in there have only a single name constraint: If their name ends with .tf, then Terraform will parse them. The names we use in the examples here are merely suggestions based on the file’s contents.
-
Apply local configuration information We will need to set up the local information for the provider to access the CloudLabs lab environment. To do this first take note of the IP address in the URL of the browser and the port used to access your environment. It should look something similar to the following URL
https://3.17.204.46:40409/

-
Set up the local variables for the cloudlabs environment Create a new file in the directory you are going to use to run terraform called
provider.tf -
Copy and paste the following terraform code into the file and save it.
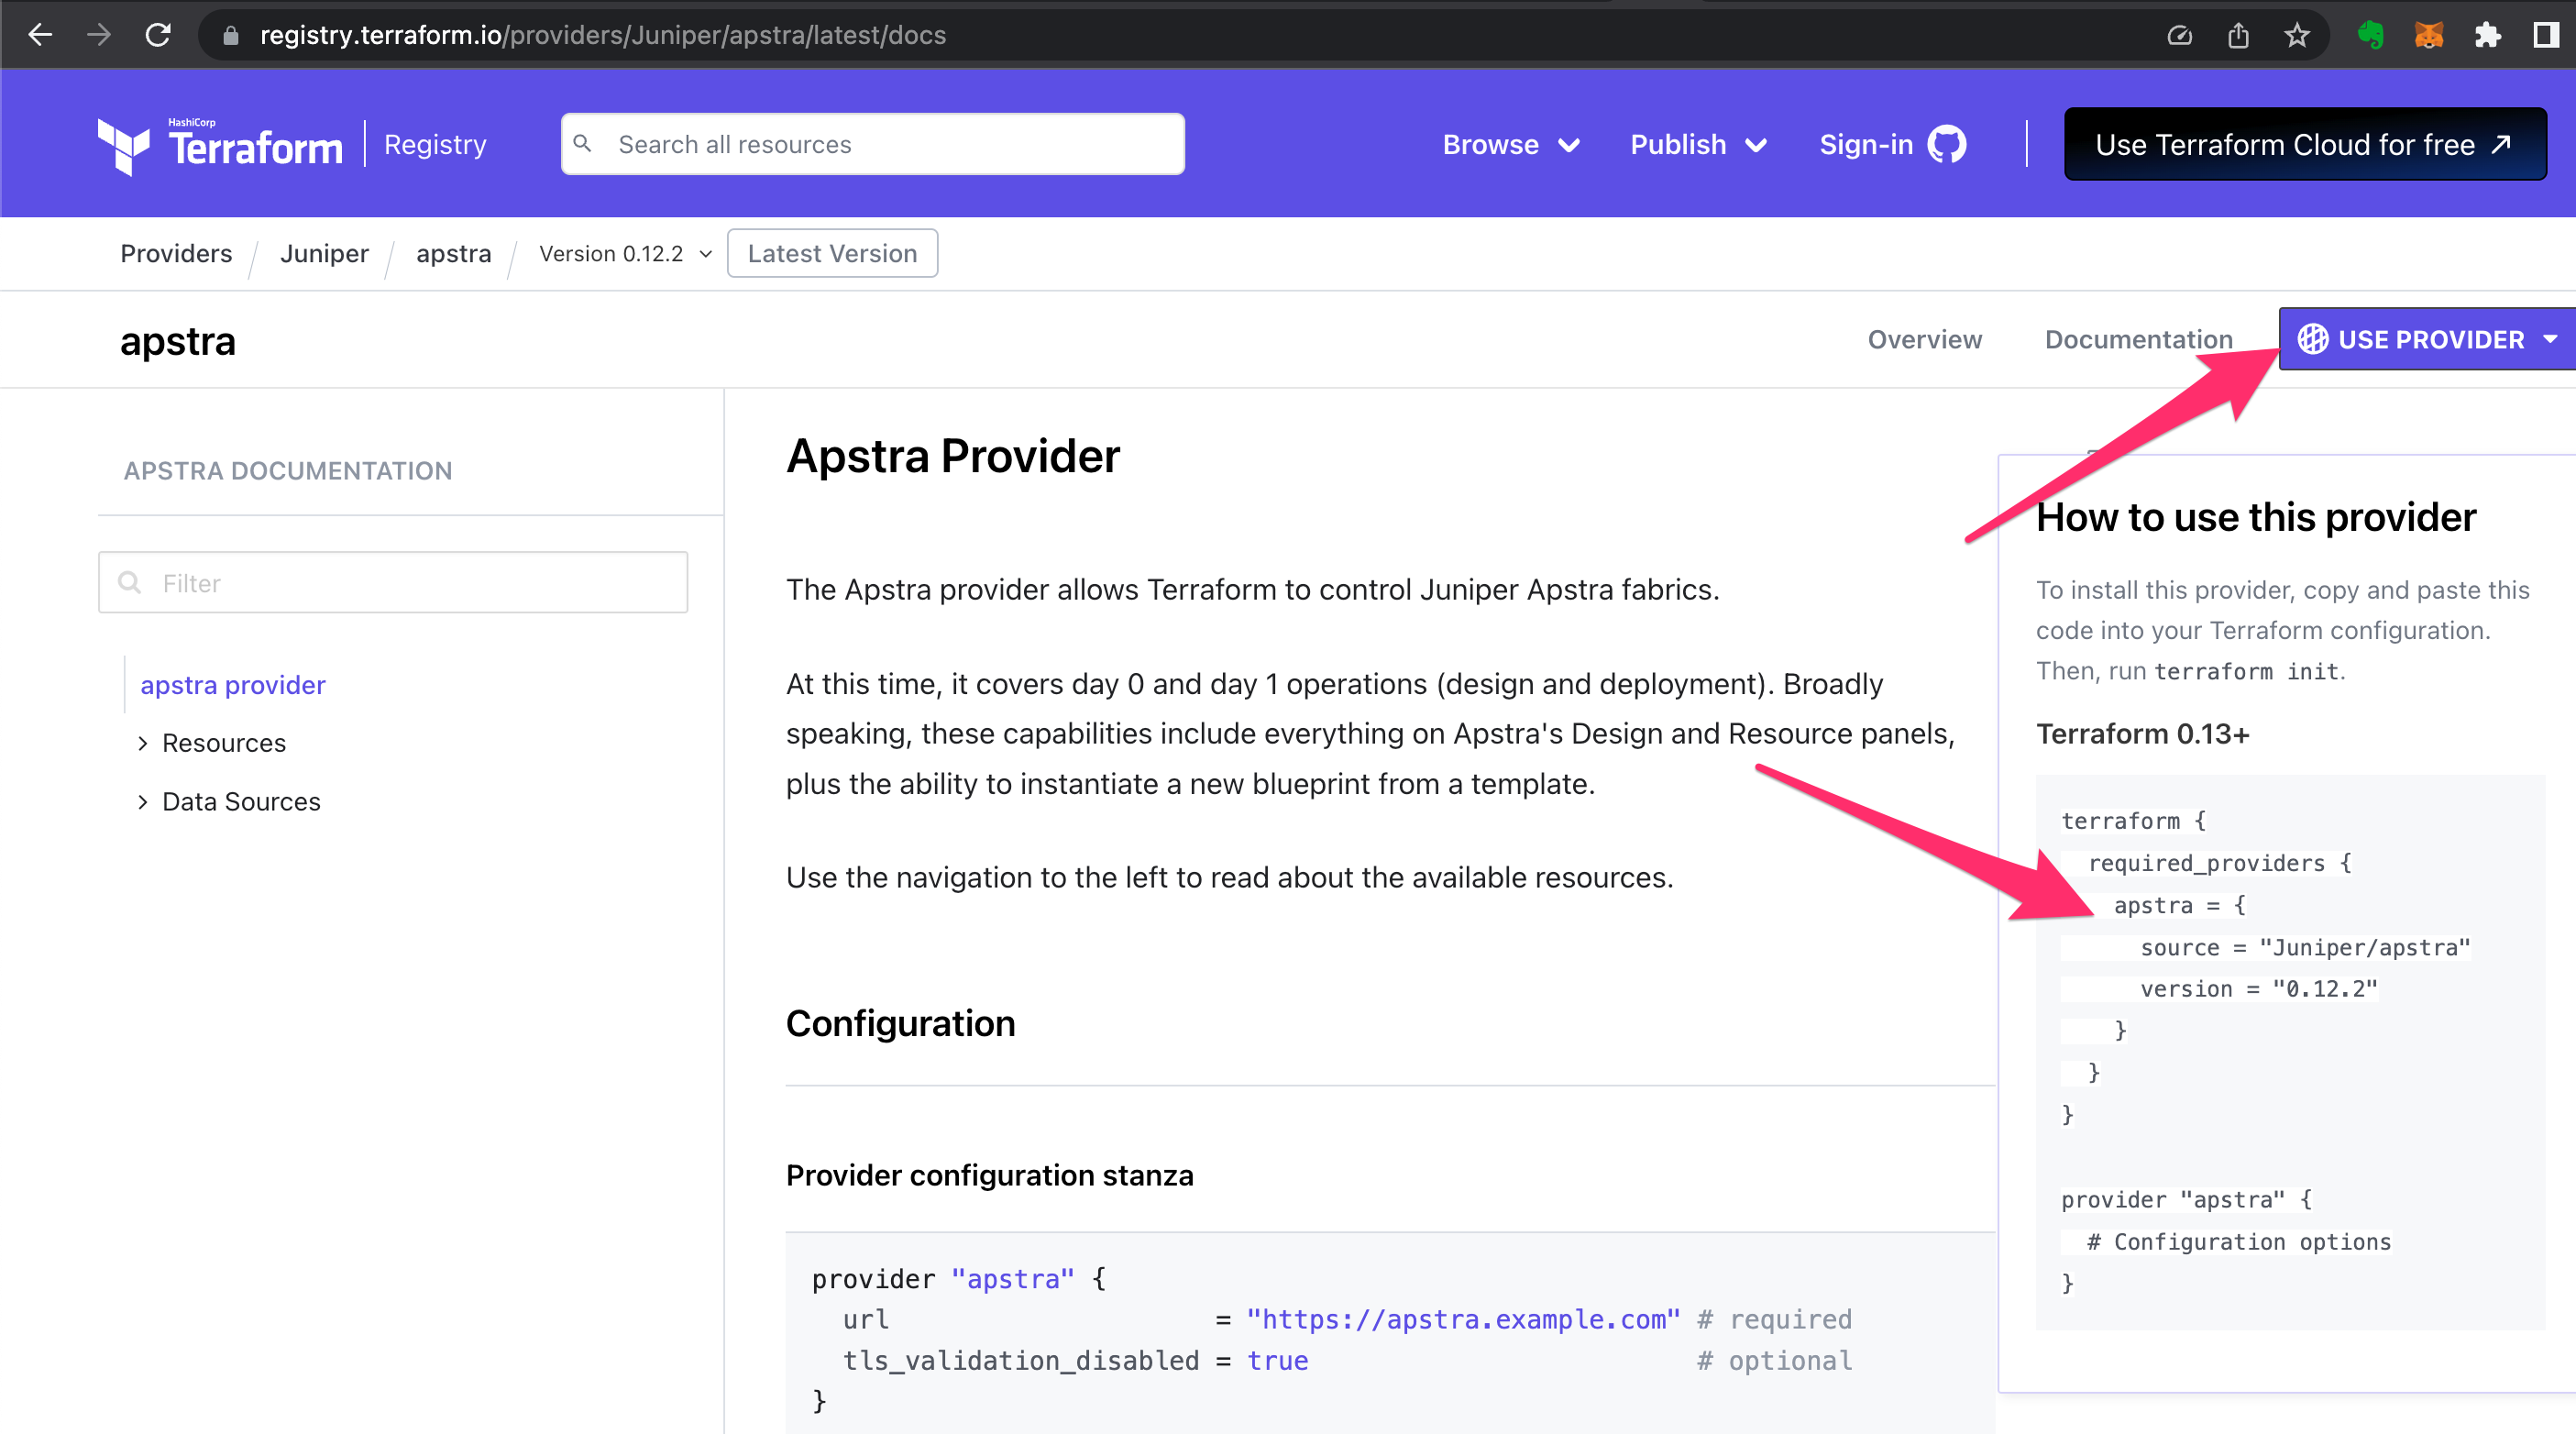
terraform {
  required_providers {
    apstra = {
      source = "Juniper/apstra"
    }
  }
}

provider "apstra" {
  # URL and credentials can be supplied using the "url" parameter in this file.
  url = "https://admin:goodguess@3.17.204.46:40409"
  #
  # ...or using the environment variable APSTRA_URL.
  #
  # If Username or Password are not embedded in the URL, the provider will look
  # for them in the APSTRA_USER and APSTRA_PASS environment variables.
  #
  tls_validation_disabled = true  # CloudLabs doesn't present a valid TLS cert
  blueprint_mutex_disabled = true # Don't attempt worry about competing clients
}
ApstraCloudlabs sometimes includes URL-unfriendly characters (
"#%/<>?[\]^:) in the passwords it generates. Entering the password directly into theurlconfiguration as shown above leads to a parsing problem when the password contains one of those characters.Options for dealing with passwords like these include:
-
Change the password in the Apstra web UI
-
move the password to the
APSTRA_PASSenvironment variable -
URL-encode the password before entering it in the configuration file:
pa$$wordbecomespa%24%24word, etc…
Where did we get the syntax for the definition of the provider? Simple, we went to the provider documentation and copied it right off the web page!
-
Initialize Terraform
-
Finally, we’ll initialize the Terraform project. This process downloads the provider from the registry, downloads any required modules (we’re not using any), and sets up the backend (we haven’t configured one, so it defaults to this folder). To do this we will use the
terraform initcommand: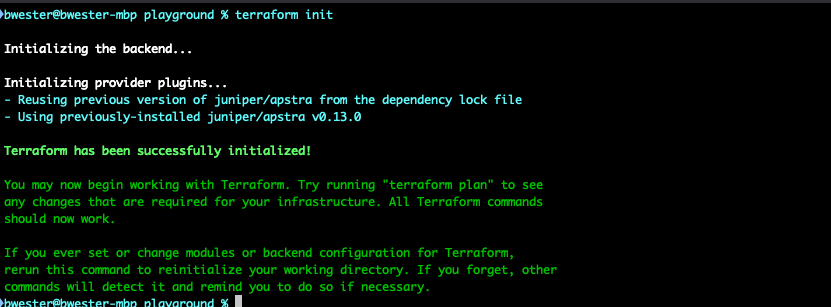
Congratulations you have set up the terraform provider for Apstra!