Lab Guide 1 - Multi-vendor
Templates
Templates are where we assemble the building blocks we have constructed so far to create a Blueprint. We have already placed our devices into Racks. Now, we will create a Template where we define the Racks and other settings that determine how our network will operate. This is the template we will use to turn our preparations into an operating fabric, also known as a Blueprint.
Create Template
Let’s create the Template we will use to create our Blueprint.
-
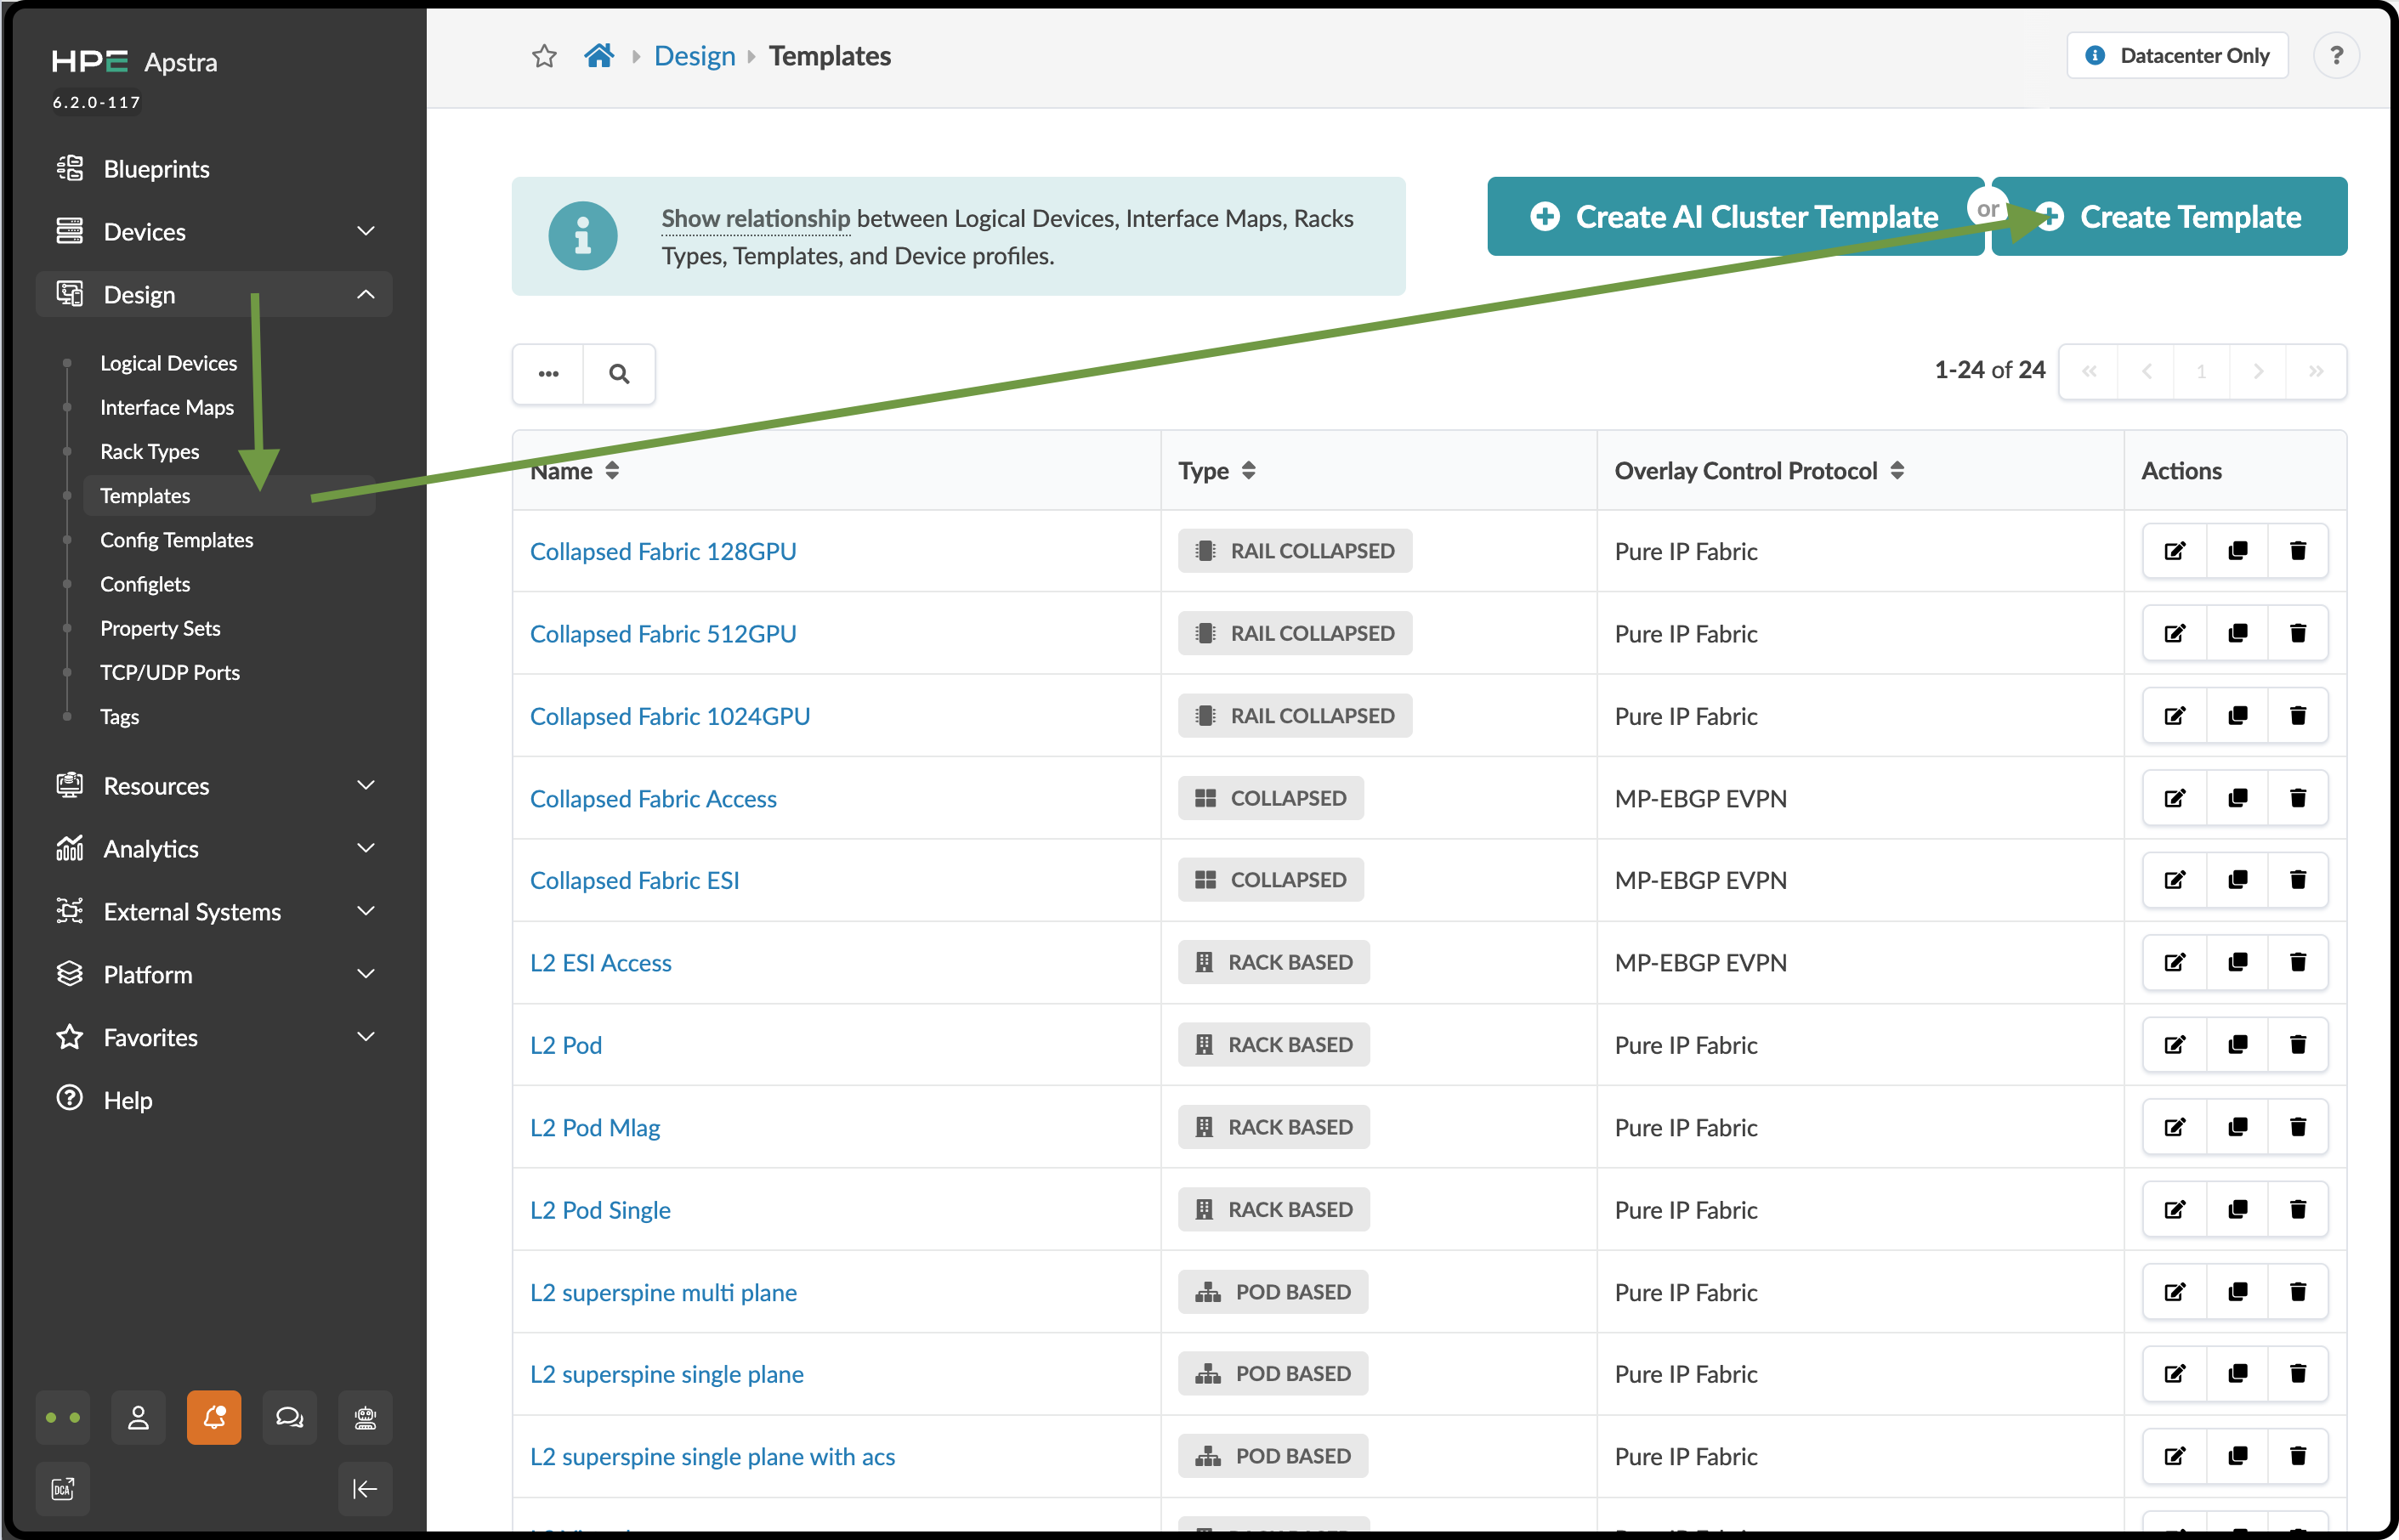
Navigate to Design > Templates and click Create Template.
-
In the Common Parameters section, enter or select the values shown in the table below.
Table 1. Table Template Common Parameters Values Common Parameters Value Name
apstra-evpn
Type
RACK BASED
-
In the Policies section, select the values shown in the table below.
Table 2. Table Template Policies Values Policies Value ASN Allocation Scheme (spine)
Unique
Overlay Control Protocol
MP-EBGP EVPN
-
In the Structure section, enter or select the values shown in the table below. Notice that as you enter information, the topology preview on the right changes accordingly. The Rack Types specified here were created ahead of time for you. They are the same as the ones you created with your own name.
Table 3. Table Template Structure Values Structure Value Rack Types
apstra-mlag (1x10 Gbps links to spines)
Number of Racks (to the right of rack type)
1
Rack Types
click Add racks
Rack Types
apstra-single (1x10 Gbps links to spines)
Number of Racks
1
Spine Logical Device
slicer-7x10⁻¹
(Spine) Count
2
Links per Superspine Count
leave as is
Link to Superspine Speed
leave as is
-
Click Create to create the template and return to the list view.
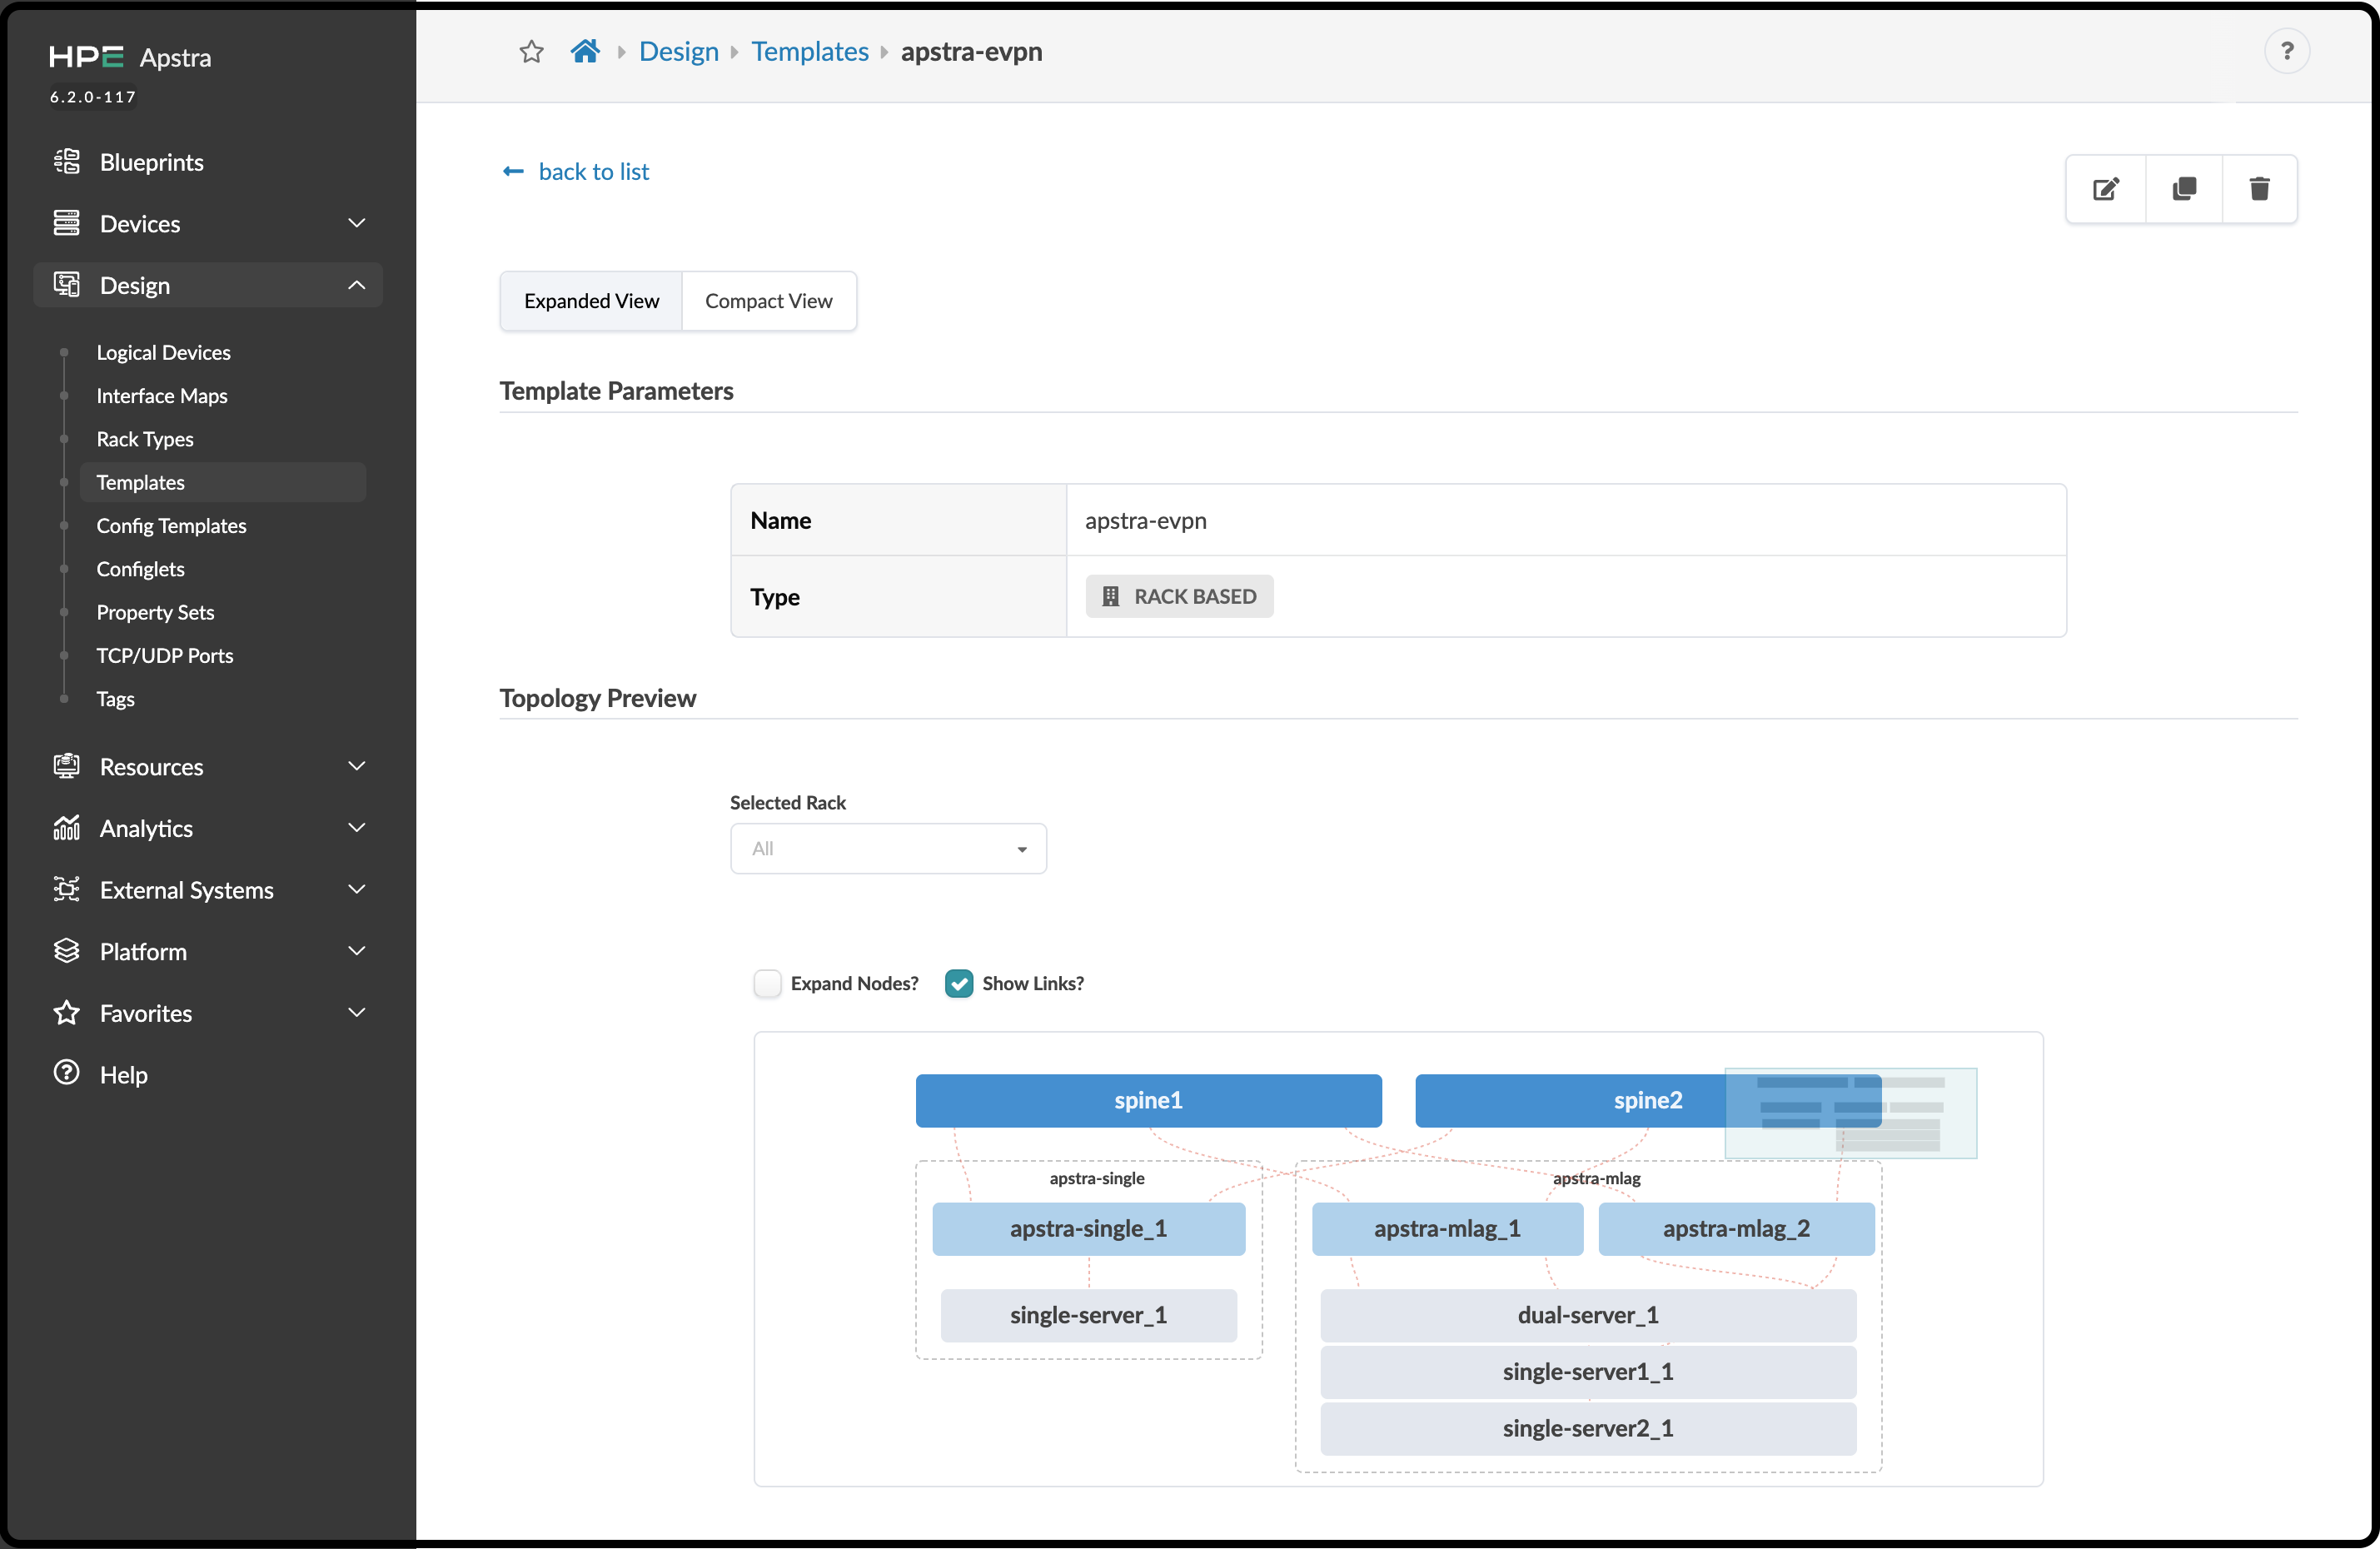
To see the template details, click its name in the list. Select the Show Links? checkbox to see where the connections will occur. Your completed template should appear as shown below: