Lab Guide - Resource Allocation in Apstra Freeform
Modify Configuration templates to use Resource Allocation
General changes needed
We have created all the resources required to implement the IP and ASN addressing schema for our topology and now need to modify the Jinja2 Configuration Templates to switch from using the 'data' Property Set to using Resource Allocation.
To summarize, we have created the following Resources:
-
IP link IP addresses (System-to-System)
-
Loopback IP addresses
-
System ASN numbers
Let’s now take some Jinja2 and make the modifications necessary to use these elements.
The good news is that not much work is needed to modify the system to use the Link IP addresses. Specifically, NO work is needed!!! The Link IP addresses were updated in the same locations that they were before so literally nothing needs to be done.
Jinja2 helper functions
We will be utilizing some built-in functions in our Jinja2 code to find the values of resources and use them in our Config Template. These functions are provided and documented for you in the Apstra UI. The best way to find them is to open a Config Template and go to the editor.
-
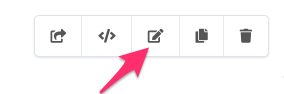
Navigate to [Staged] > [Catalog] > [Config Templates]. Click on the interfaces.jinja hyperlink, then the "edit icon"
Once it’s open, click on the link [ ? | Jinja2 function reference]
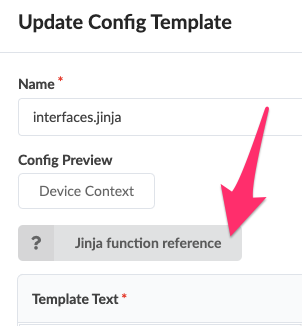
This page will open in a new tab in your browser:
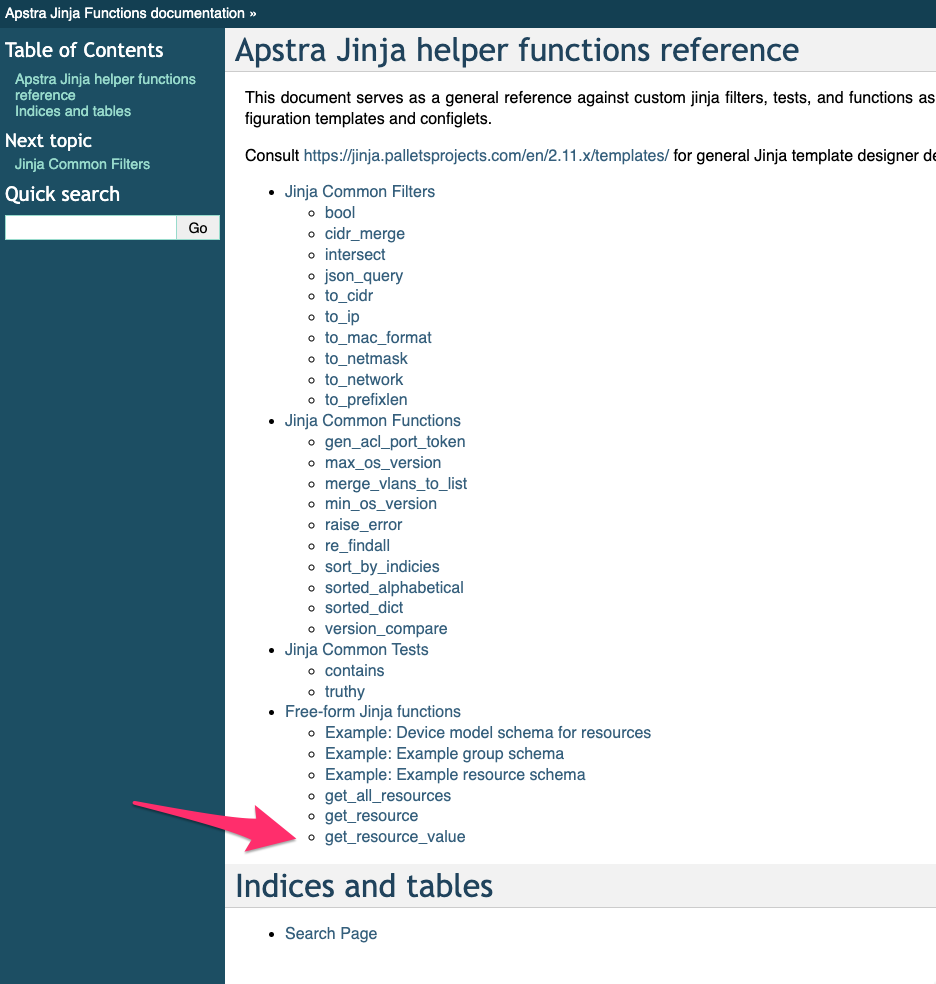 Open the last item called
 get_resource_value and examine the function details.
we will use this function in the next 2 sections to replace the existing Jinja2 that utilized the Property Set.
Loopback IP addresses
The loopback IP addresses (and ASNs) were previously stored in a Property Set and were referred to in the Config Template called interfaces.jinja to build Junos config. It is this file we will modify to build the same config but with Resource Allocation, and in particular, this config block:
		replace: lo0 {
        			unit 0 {
           			 family inet {
                		address {{ property_sets.data[this_router | replace('-', '_']['loopback'] }}/32;
            }
        }
    }
Before we start to modify the Jinja above, we need to determine where the loopback IP has been placed in the data set Apstra has generated for this device, and this is in the Device Context tree. We then need to link this to the Jinja2 helper function (mentioned above) function.get_resource_value(<location>). In this example, the argument sent to this function described as <location>, is the location in the Device Context where the Resource generator has placed the loopback IP for this device. There are a number of variables which are described below. Let’s open the 3 pane editor and figure this out.
-
Open the 3 pane editor for interfaces.jinja
-
Navigate to [Staged] > [Catalog] > [Config Templates] and click on the interfaces.jinja hyperlink. Now click the "edit icon"
-
-
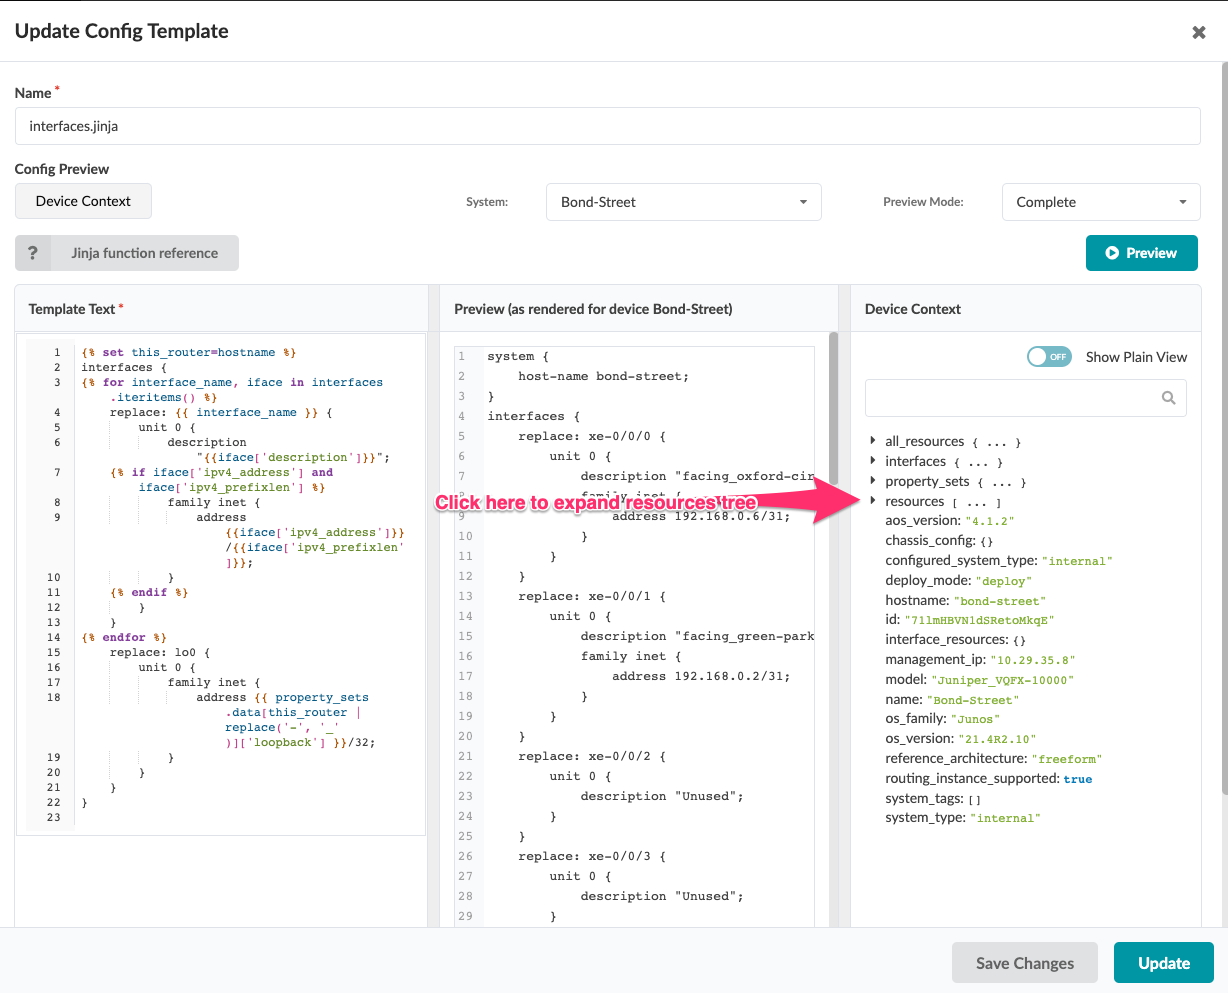
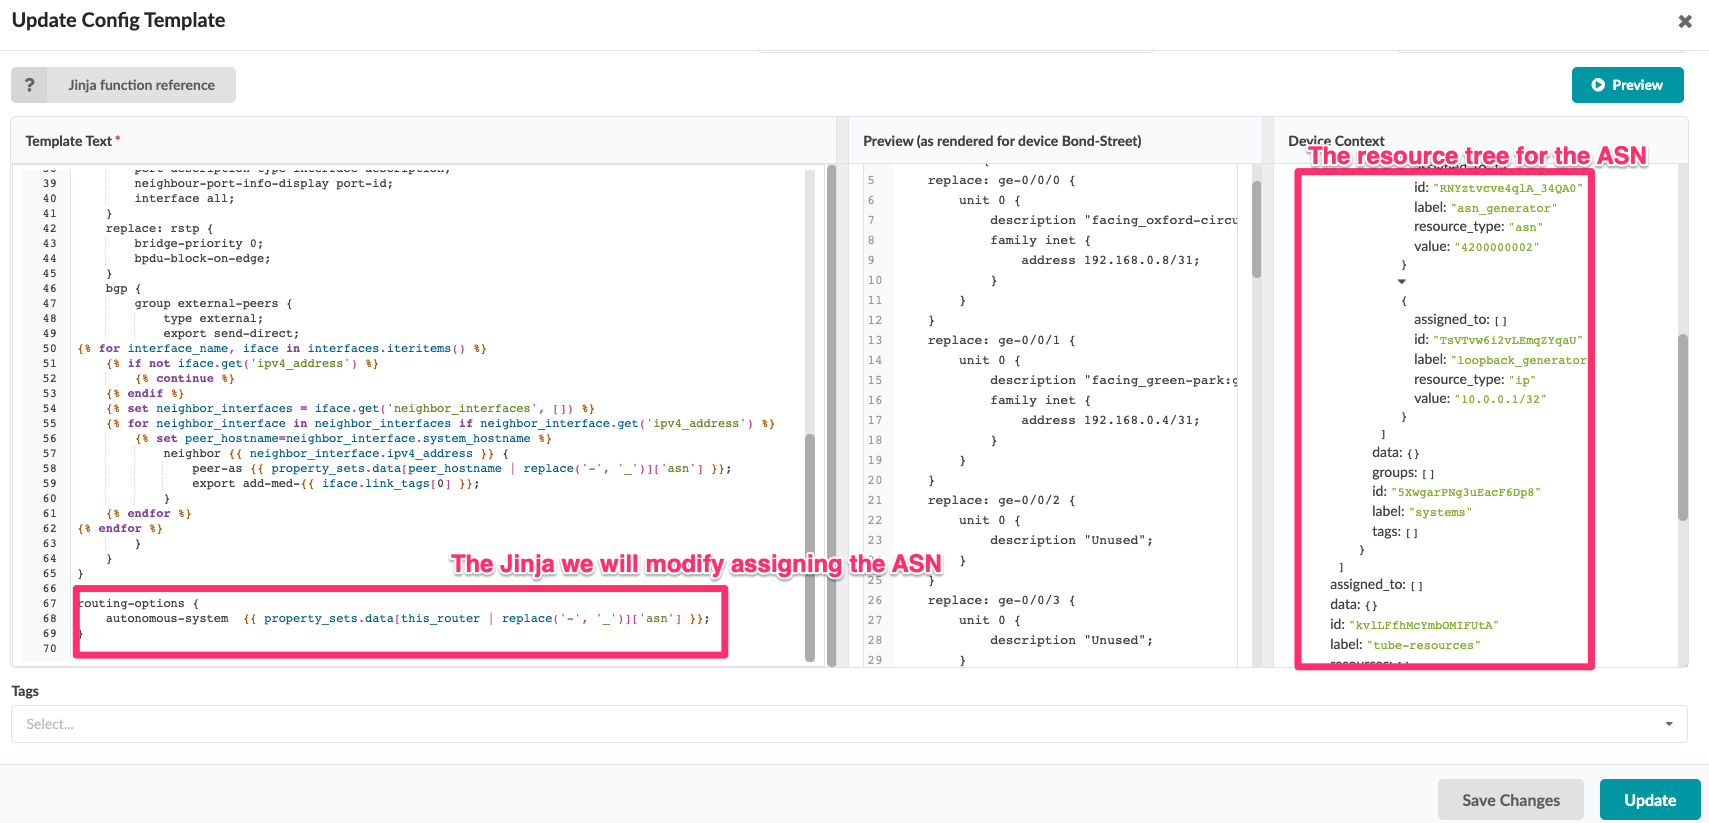
In the 'Update Config Template' window, you can display the Junos config preview (as built by your Config Template (left pane) for the selected System, by selecting a System and clicking [▷ Preview]
-
Display the device context by clicking on [Device Context]
-
Open the ▶ resources [ … ] branch of the tree to examine the contents.
-
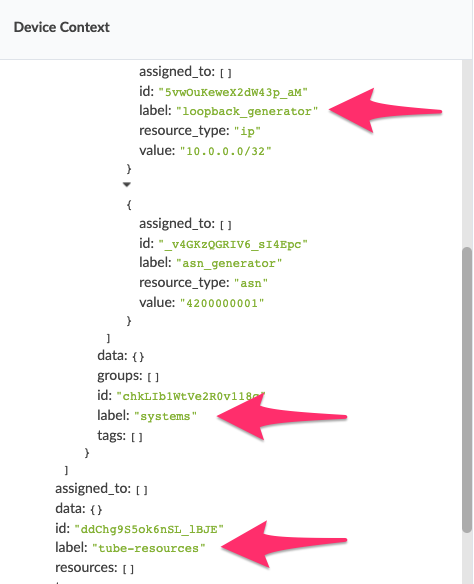
After inspecting the resources tree we can view the following:
-
This is what we need to pass to our
function.get_resource_value(). You can see there is a nesting of resources, starting with the top level grouptube-resourcesand then progressing lower to thesystemgroup. Once we passed the correct nested data structure we then pass the actual resource which is calledloopback_generator.{% set loopback_ipv4 = function.get_resource_value(resources, 'loopback_generator', 'tube-resources','systems') %}
Let’s now look at what the final Jinja2 should look like for this modification:
{% set loopback_ipv4 = function.get_resource_value(resources, 'loopback_generator', 'tube-resources','systems') %}
    replace: lo0 {
        unit 0 {
            family inet {
                address {{ loopback_ipv4 }};
            }
        }
    }
Edit the Jinja2 Config Template in the left pane directly (you’re in edit mode) and remember to hit the [▷ Preview] icon to reload and preview your changes and ensure it renders correctly, before you click the [ Update ] button.
{% set this_router=hostname %}
interfaces {
{% for interface_name, iface in interfaces.iteritems() %}
    replace: {{ interface_name }} {
        unit 0 {
            description "{{iface['description']}}";
    {% if iface['ipv4_address'] and iface['ipv4_prefixlen'] %}
            family inet {
                address {{iface['ipv4_address']}}/{{iface['ipv4_prefixlen']}};
            }
    {% endif %}
        }
    }
{% endfor %}
{% set loopback_ipv4 = function.get_resource_value(resources, 'loopback_generator', 'tube-resources','systems') %}
    replace: lo0 {
        unit 0 {
            family inet {
                address {{ loopback_ipv4 }};
            }
        }
    }
}
ASN numbers
Now we need to do the same thing for the ASN numbers.
-
Open the 3 pane editor for
protocols.jinja-
Navigate to * [Staged] > [Catalog] > [Config Templates] and click on the
protocols.jinjahyperlink. Now click the "edit icon"
-
-
Display the preview for a system by click on [▷ Preview]
-
Display the Device Context by clicking [ Device Context ]
-
Open the resources tree to examine the resources.
-
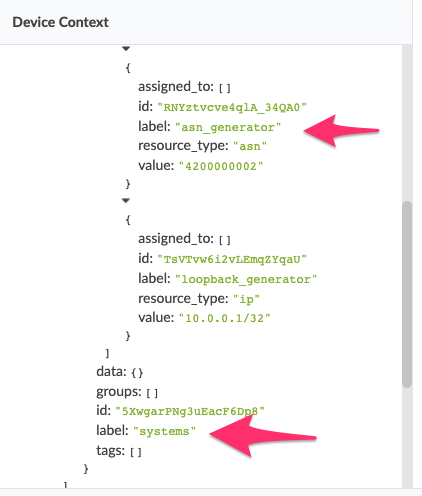
After inspecting the resources tree you can view the following:
-
This is what we need to pass to our
function.get_resource_value(). You can see there is a nesting of resources, starting with the top level grouptube-resourcesand then progressing lower to thesystemgroup. Once we passed the correct nested data structure we then pass the actual resource which is calledasn_generatoras follows:
{% set my_asn = function.get_resource_value(resources, 'asn_generator', 'tube-resources','systems') %}ASN number for the local system.
The first Jinja2 code we will develop will locate the local systems ASN. This function is basically the same function as above. We will replace the following area in the config template:
routing-options {
    autonomous-system  {{ property_sets.data[this_router | replace('-', '_')]['asn'] }};
}
with the following lines:
{% set my_asn = function.get_resource_value(resources,'asn_generator', 'tube-resources','systems') %}
routing-options {
    autonomous-system  {{ my_asn }};
}
Edit the Jinja2 Config Template in the left pane directly (you’re in edit mode) and remember to hit the [▷ Preview] icon to reload and preview your changes and ensure it renders correctly, before you click the [ Update ] button.
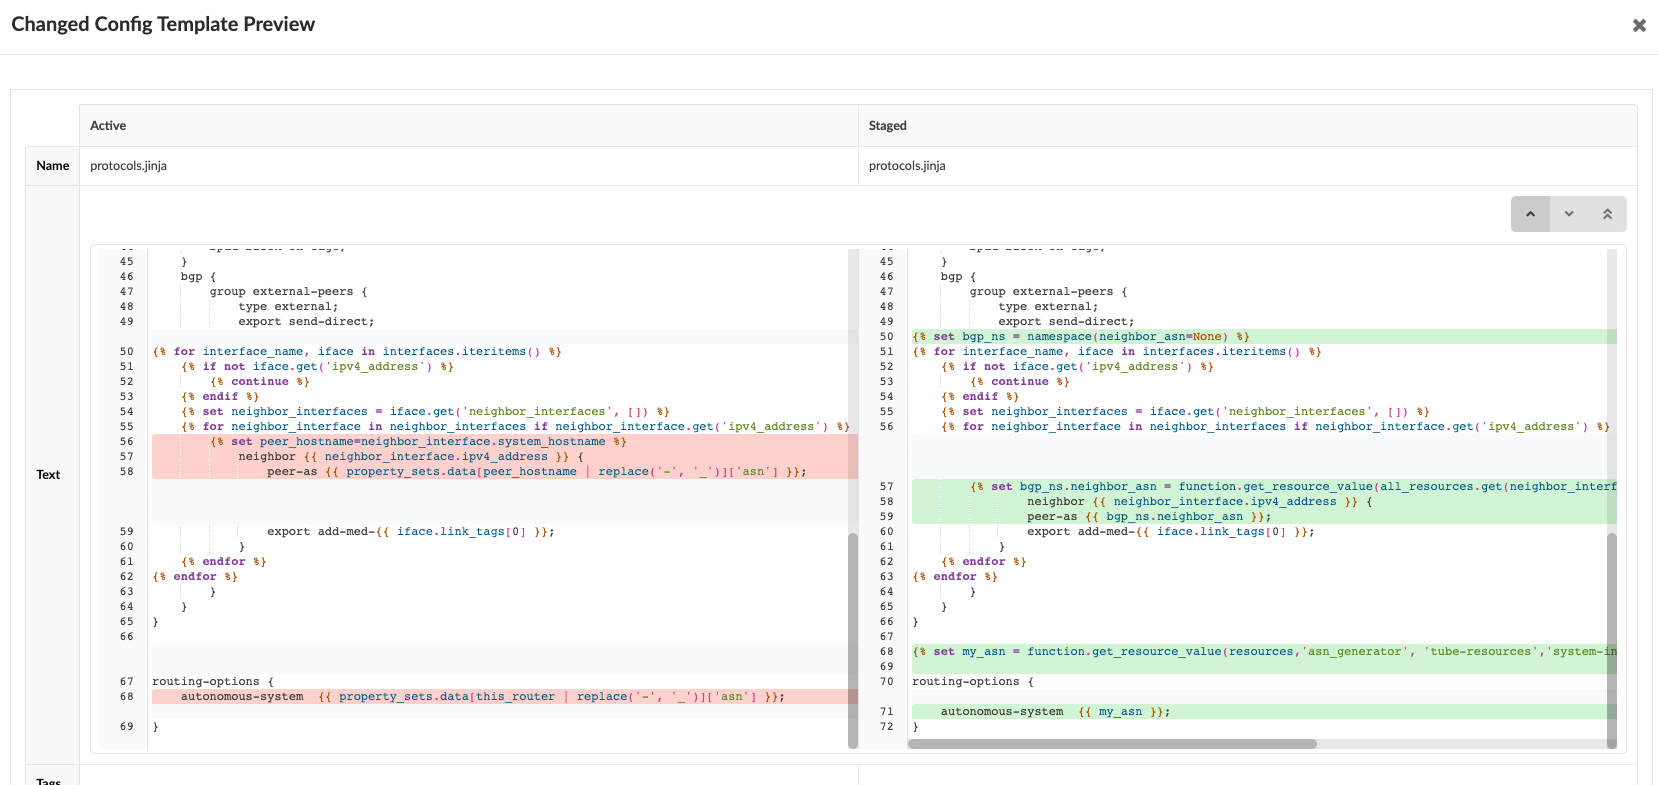
This is what should show up as the difference between the two (using the handy config template preview):

ASN number for the neighbor systems.
Now that we have the local system ASN identified and working, we can move on to writing the Jinja2 to find the neighbor ASN interface using the built-in functions.
-
Open the 3 pane editor for protocols.jinja
-
Navigate to * [Staged] > [Catalog] > [Config Templates] and click on the protocols.jinja hyperlink. Now click the "edit icon"
-
-
Display the preview for a system by clicking on [▷ Preview]
-
Display the device context by clicking on [ Device Context ] button
-
The important logic to be removed and modified from the file is enclosed in lines 56-58 of the config template.

-
This logic walks the interface tree and finds the associated peer hostname and then looks in the property set for the hostnames ASN. In this case we need to create some new code, and we will need to use a variable in the
forloop, to do this we will introduce a namespace. We call the namespace bgp_ns and define it in line 50. The Jinja2 code is:{% set bgp_ns = namespace(neighbor_asn=None) %} -
Now for the code needed to find the neighbor ASN:
{% set bgp_ns.neighbor_asn = function.get_resource_value(all_resources.get(neighbor_interface.system_id), 'asn_generator', 'tube-resources', 'system') %} neighbor {{ neighbor_interface.ipv4_address }} { peer-as {{ bgp_ns.neighbor_asn }}; -
As you can see from this code we pass to our
function.get_resource_value()the same nesting of resources, starting with the top level grouptube-resourcesand then progressing lower to thesystemgroup. Once we passed the correct nesting structure we then pass the actual resource which is calledasn_generator. The biggest change here is that we are usingall_resources.get(neighbor_interface.system_id)which is the value of the neighbor_interface’s system_id. It may be a bit tricky the first time you see this, but you can look at theall_resourcestree to look into the nested structure we used to get the value.
Commit your changes, and review.
Now that you have finished your updates on both the loopback address and the ASN numbers. It is a simple step of reviewing the configuration changes.

Now that we have reviewed the changes lets commit them.
-
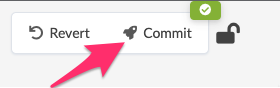
Navigate to [Uncommitted] and click in the upper right corner where the [Commit] button is.
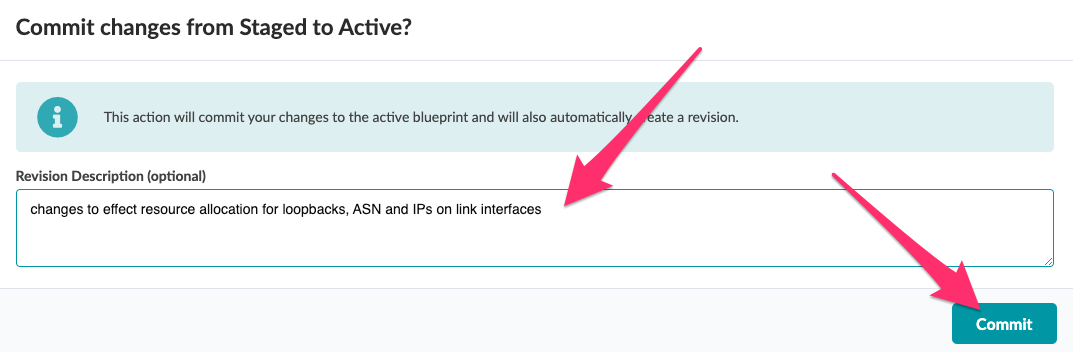
Now enter the information that documents the changes made and click the final [Commit] button. This could be a ticket number in a production environment.
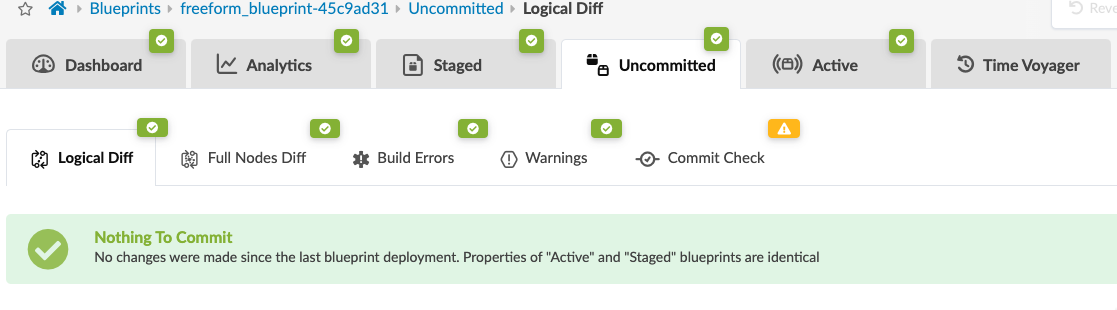
Once the commit is complete you should see all green check boxes.
Lab Completion
Congratulations ✌. You have accomplished a major step towards realizing the benefits of using Juniper Apstra Freeform. The steps in this lab represent a simple use case chosen to illustrate the powerful features offered in Apstra Freeform. We hope you enjoyed exploring the features of this solution, but we have only scratched the surface of what this system is capable of doing. We look forward to your continued journey in learning more about Apstra and how it automates designing and operating complex network infrastructure.